
How to Install Luxury Vinyl Plank Flooring on Stairs
I can’t believe it friends we did it!! We installed Luxury Vinyl Plank Flooring on our stairs!!
The process wasn’t as quick as we would have liked and I’ll share that little hiccup with you later.
I hope to give you a pretty easy step-by-step process on how to do this yourself. Trust me, you can do it!!

This blog post contains affiliate links. This helps maintain and keep this blog running. If you have any questions, feel free to read my disclosures. Thank you!
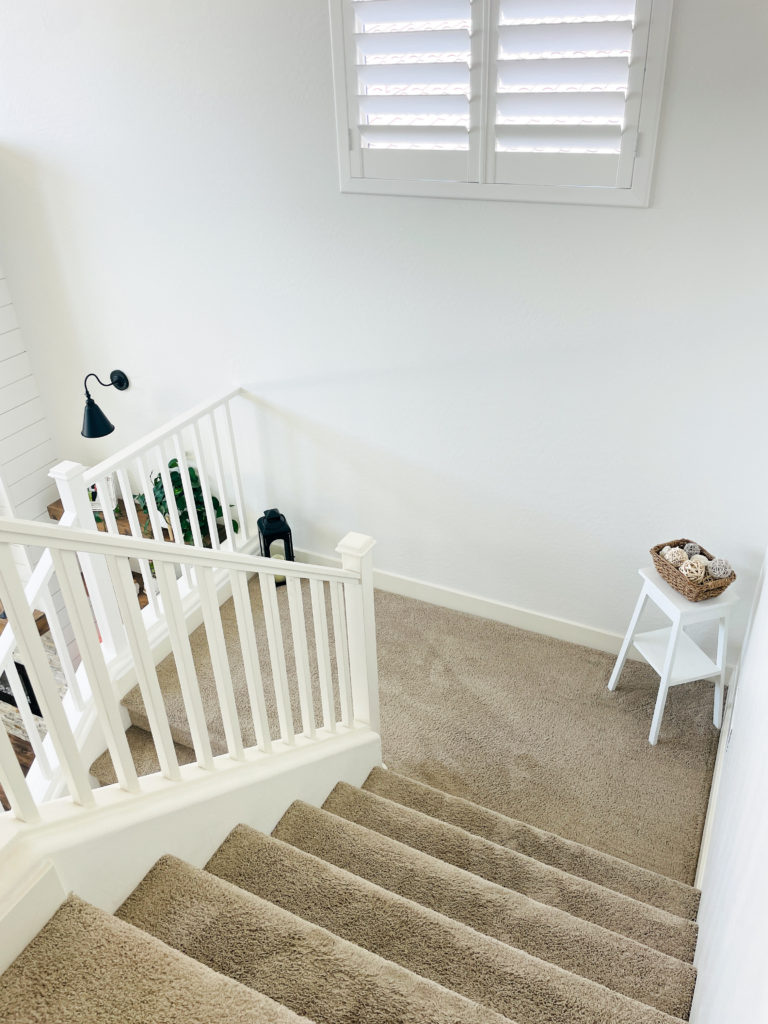
When we built our home 3 years ago having LVP flooring on the stairs or the second floor wasn’t an option. Looking back I’m happy it wasn’t because it would have cost so much more through the builder.
I went ahead and got an estimate and as usual, once I got the quote on how much it would cost to remove the carpeting and install LVP flooring on our stairs we decided that this would be a DIY for us.
This is pretty much a running theme for us!! 😂
First things first let’s talk about what tools you’ll need for this project.
Tools Needed
- Drill
- Tape Measure
- Nail Gun
- Carpenter Square
- Jigsaw
- Tablesaw
- Air Compressor
- Miter Saw
Materials Needed
- LVP Flooring
- Stair Nosing/ Stair Bullnose
- Stair Risers
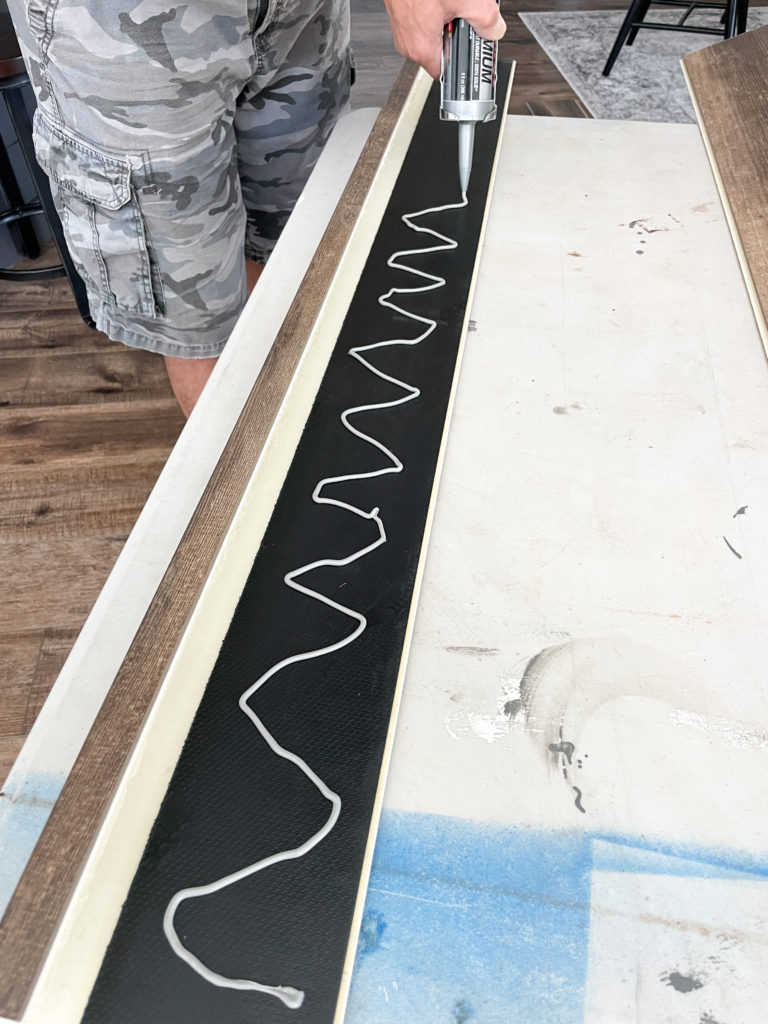
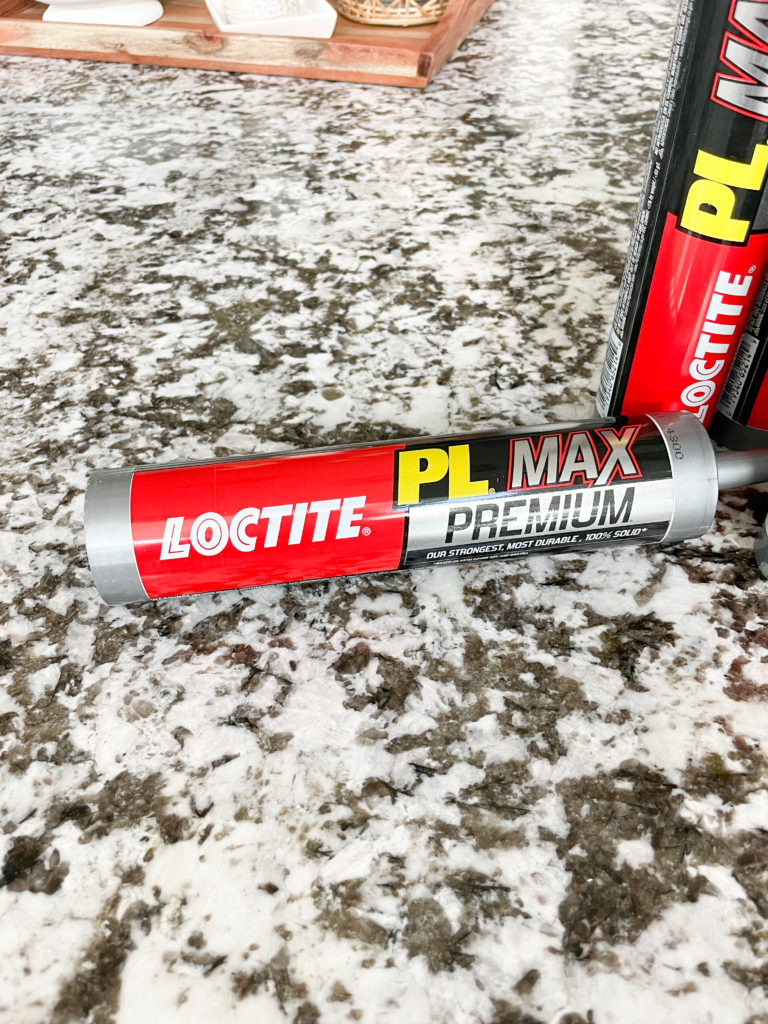
- Construction Adhesive ( we used PL Max Premium)
- Caulk
- Caulk Gun
- Paint ( for risers)
- Paint Brush
- Screws & Nails
Step 1
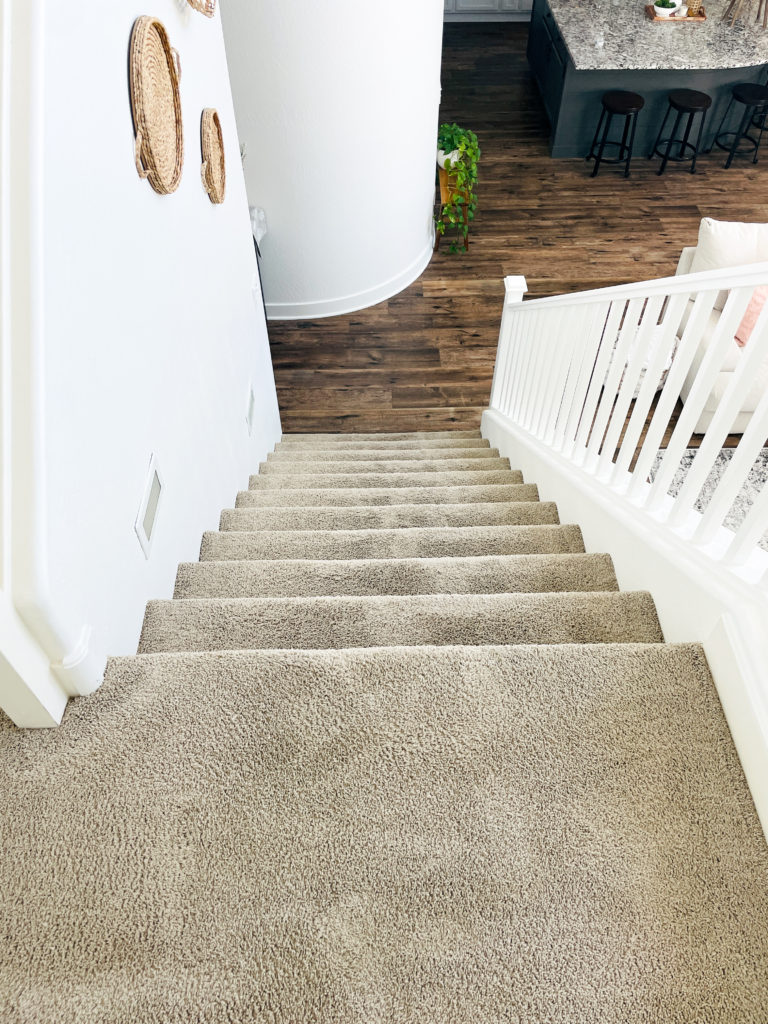
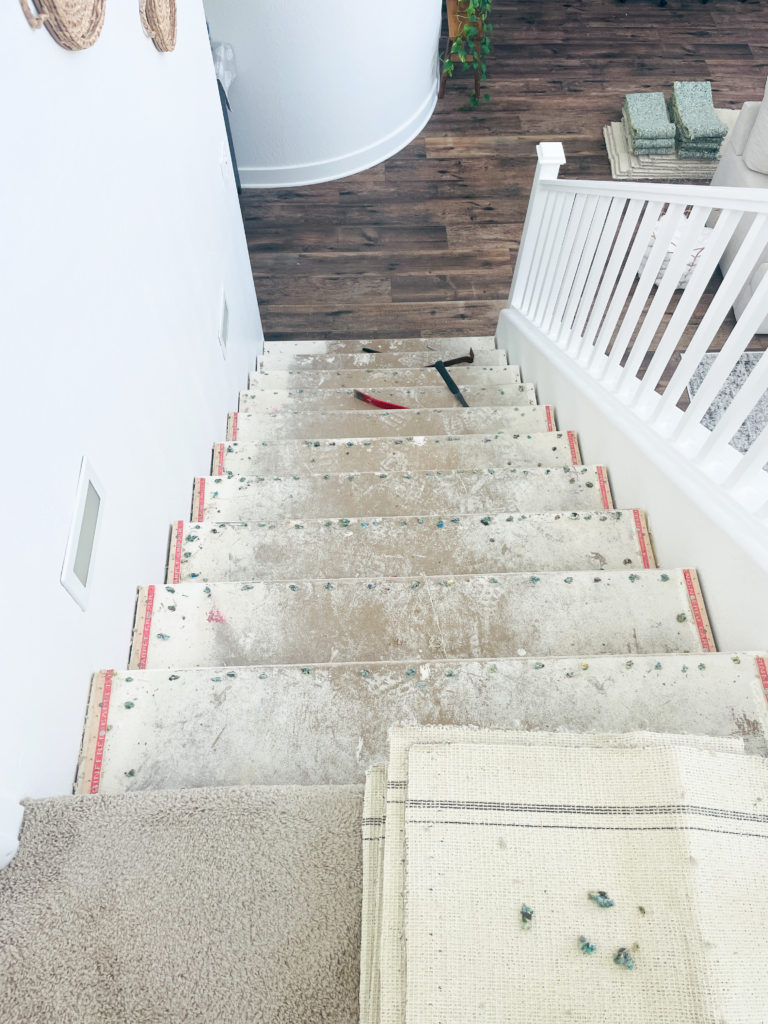
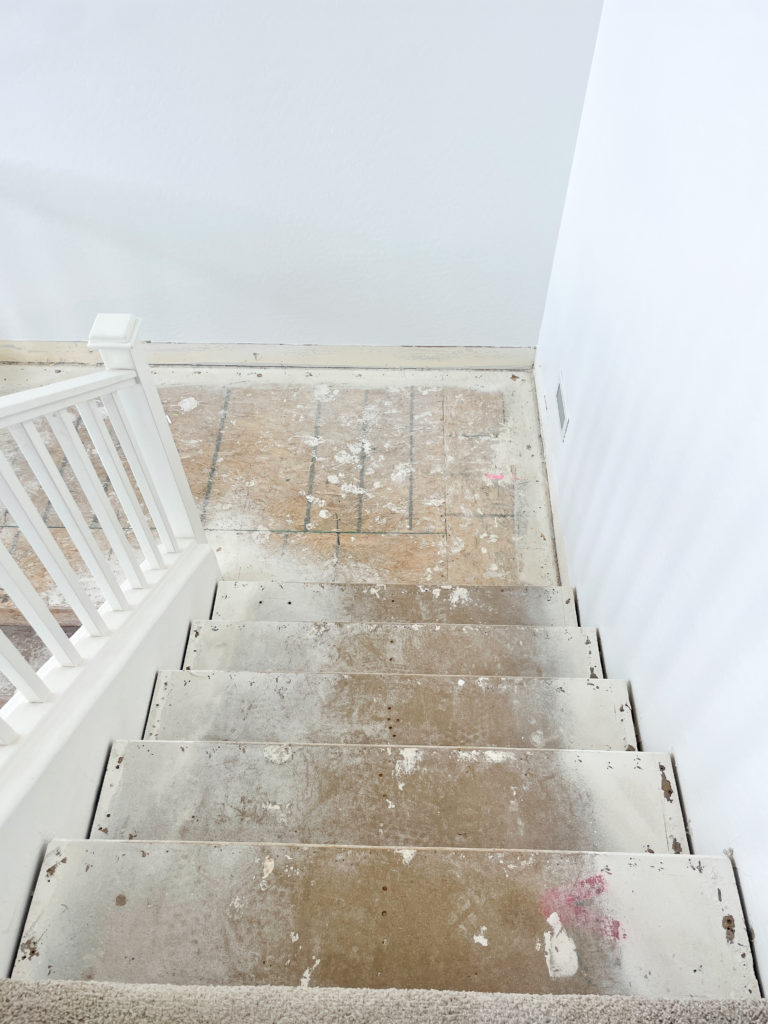
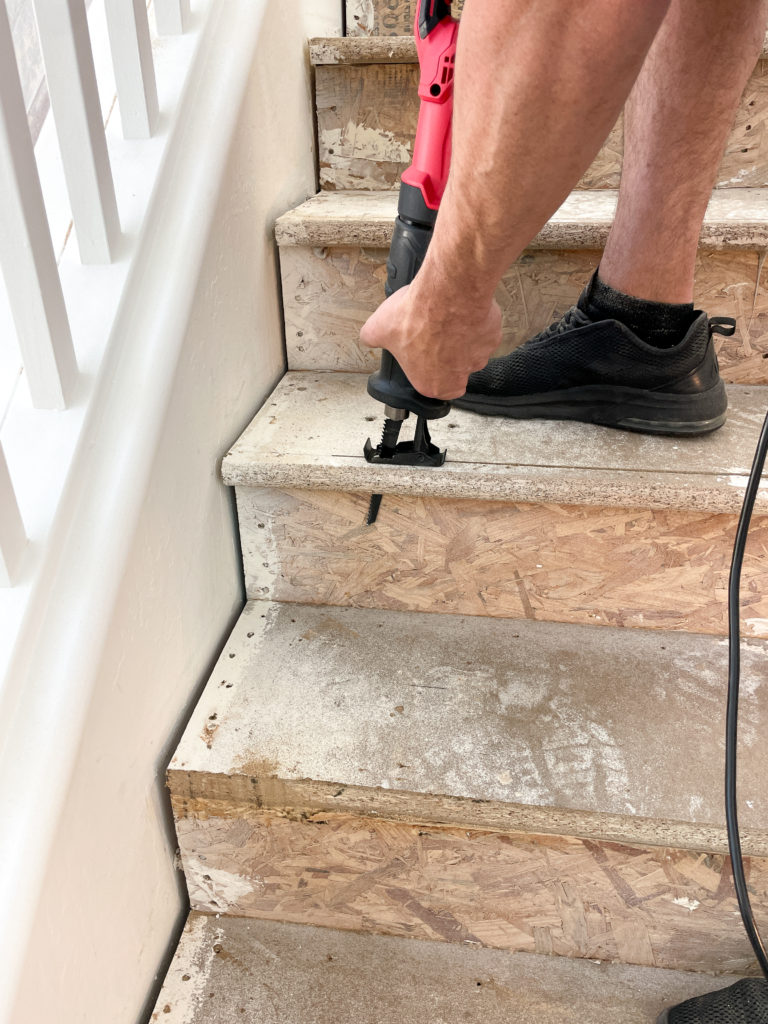
The first step is pretty obvious 😂 you need to remove the existing carpet from the stairs. I’m not going to lie I didn’t do this part. My husband and oldest son did this demo.
It went a lot faster than they thought it would, it took them a couple of hours. The hardest and most tedious part was removing all of the tack strips and then the (5,000) staples.

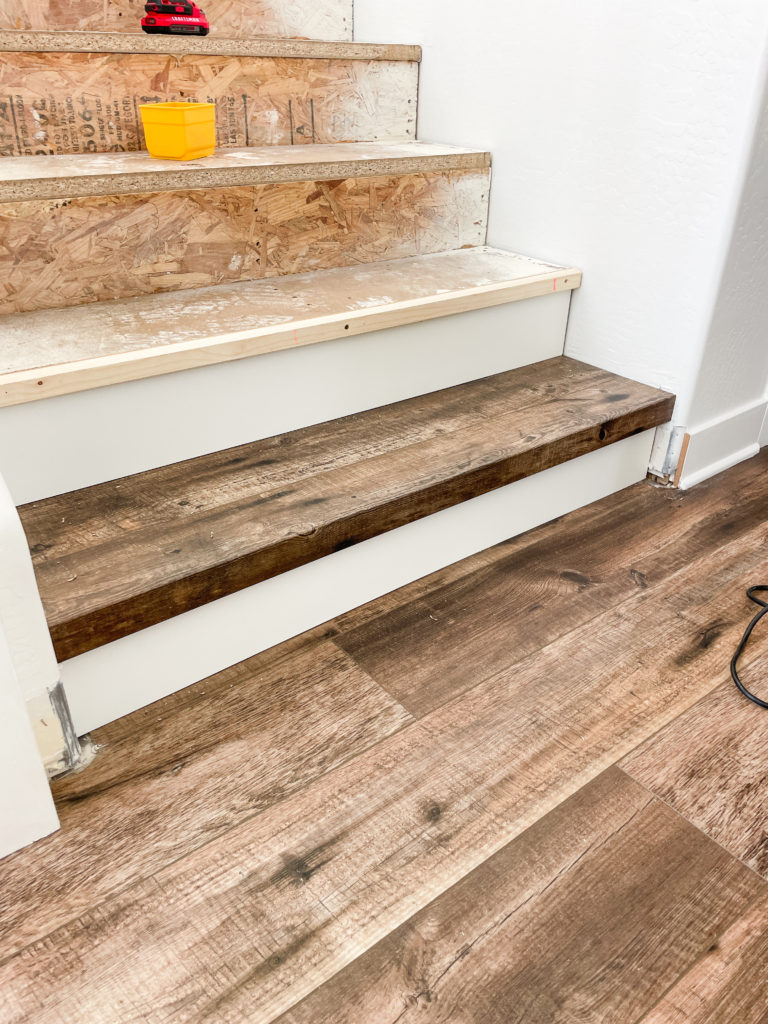
Step 2
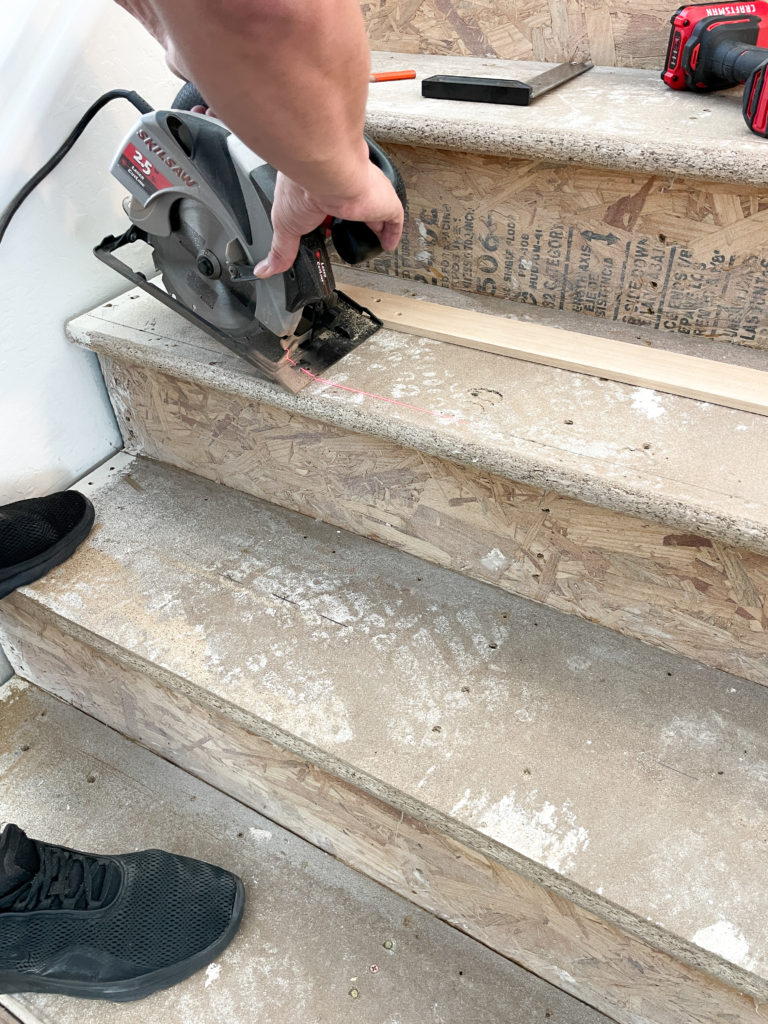
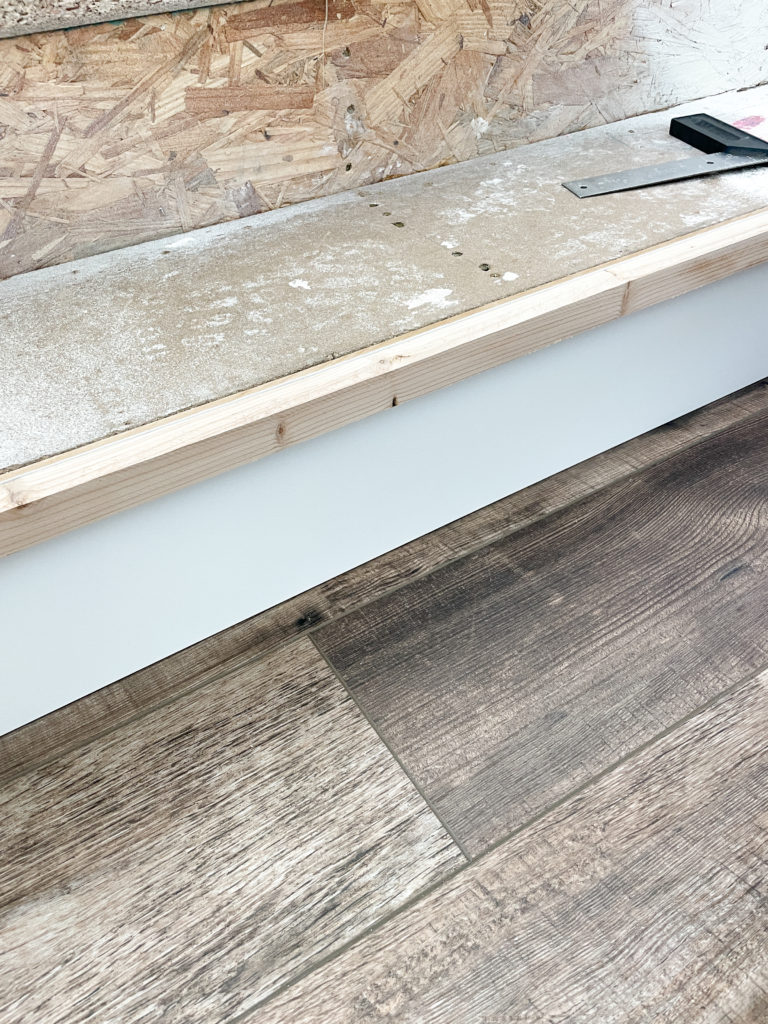
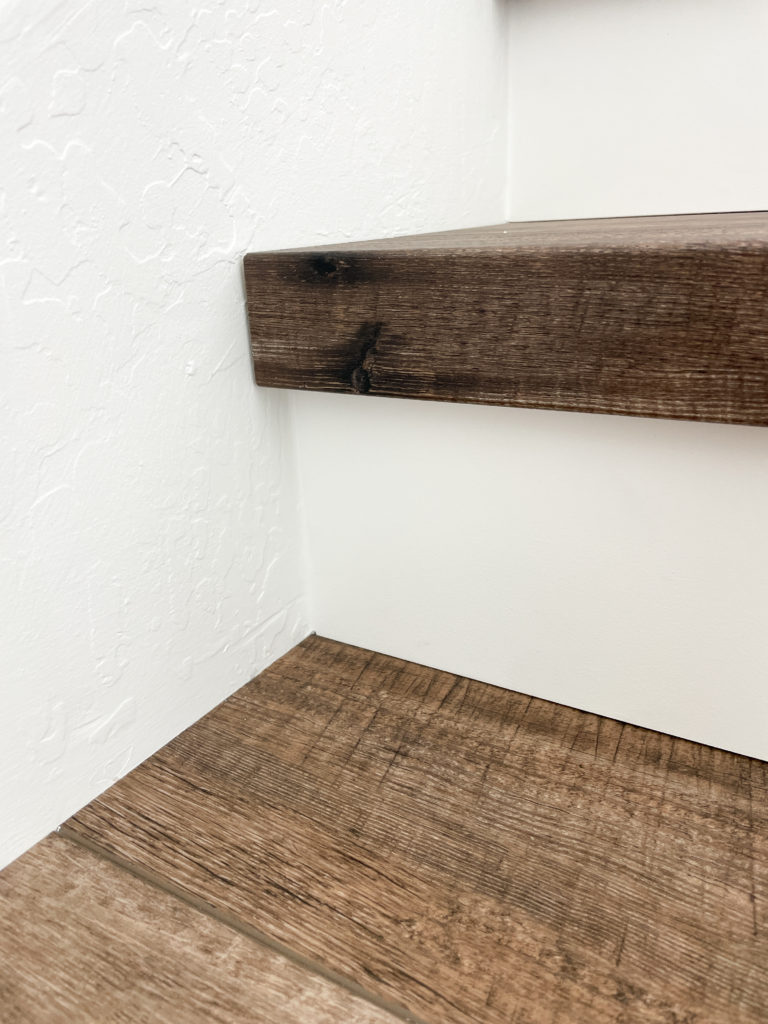
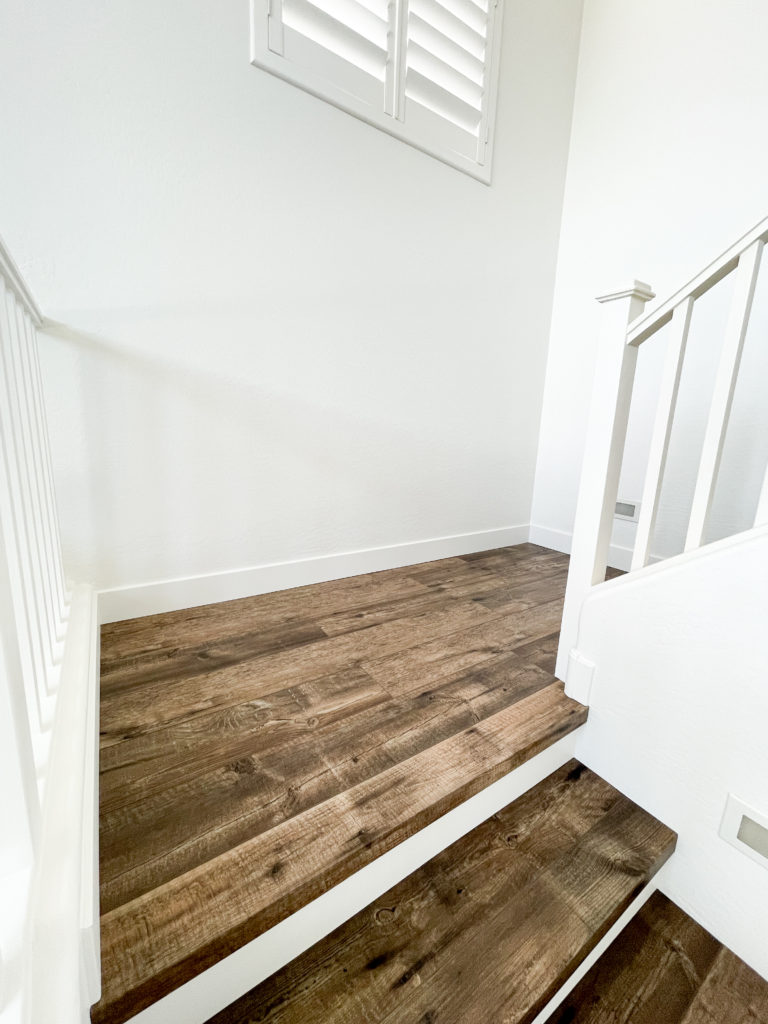
This next step depends on what type of stair bullnose you will be attaching. For us, we went with the rounded edge bullnose which required us to remove the existing bullnose.
My husband started to use the reciprocating saw and then switched over to the circular saw. It was a little more sturdy and gave a better line.
Here was our big hiccup!! 😭
We were moving right along and making good time with this project until this. The bullnose pieces clearly didn’t match the floor planks.
This little issue turned into a 5-week delay. The flooring store had 2 more replacements sent to them and they all looked the same.
They eventually came up with a solution to have their fabricator make the bullnose pieces out of the floor planks.
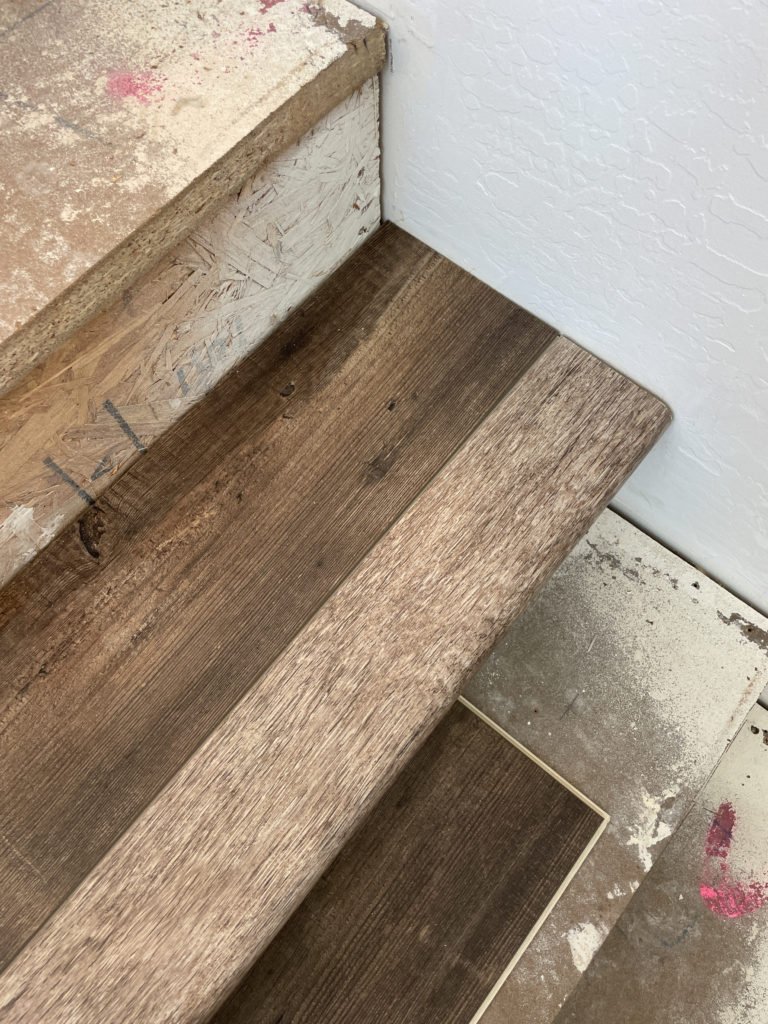
This was great news, but the bullnose pieces would need to be the square look, and the bullnose pieces we cut off to fit the rounded style would now have to be added back on! 🤦🏻♀️
Here we go adding ALL the bullnose edges we cut off back on!!
We used a 1x2x4 whitewood board for this added step.
Step 3
Before you attach the stair risers it’s easier to get 2 coats of paint on them. That way you only have a few touch-ups to do after they’re installed.
Step 4
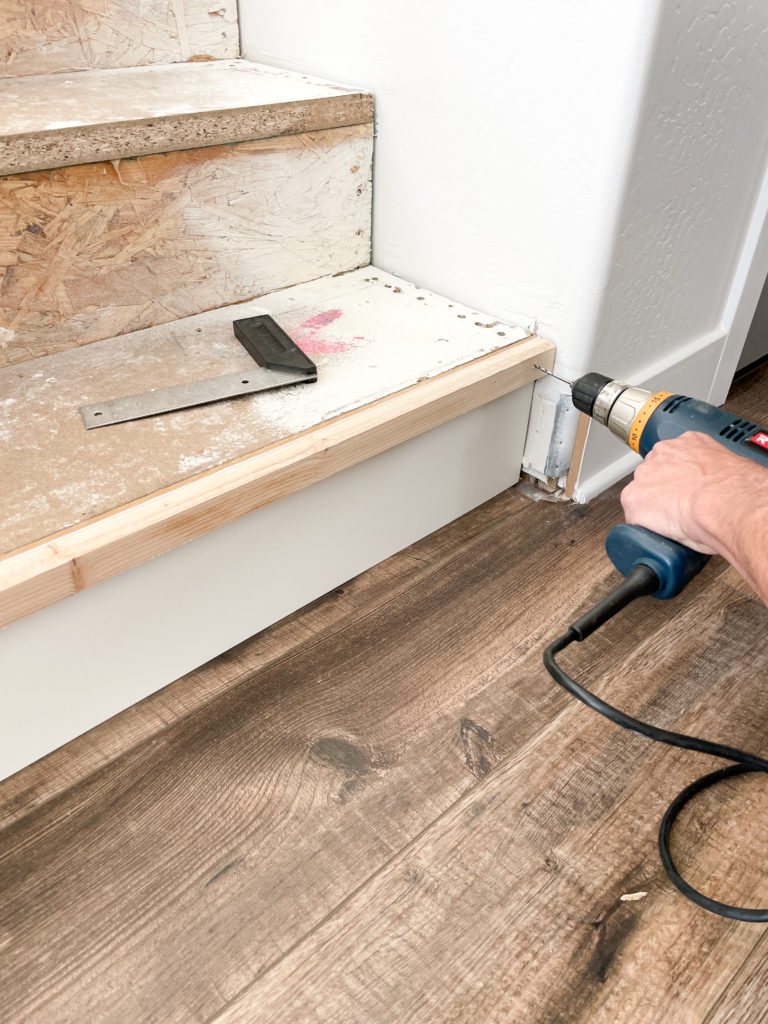
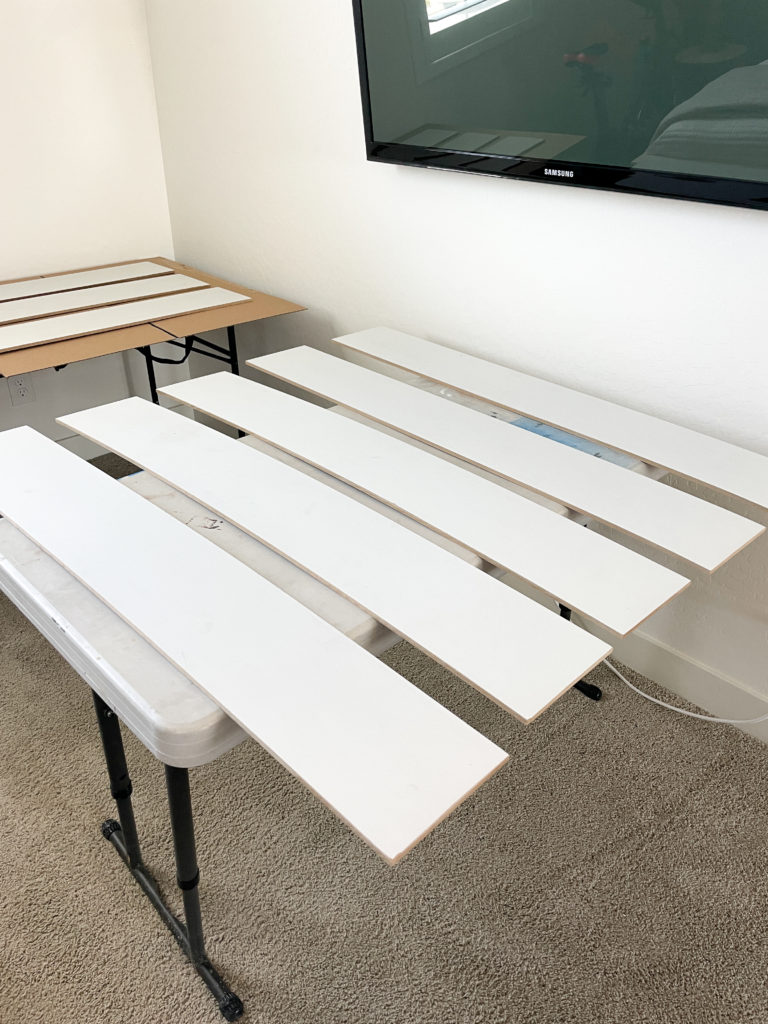
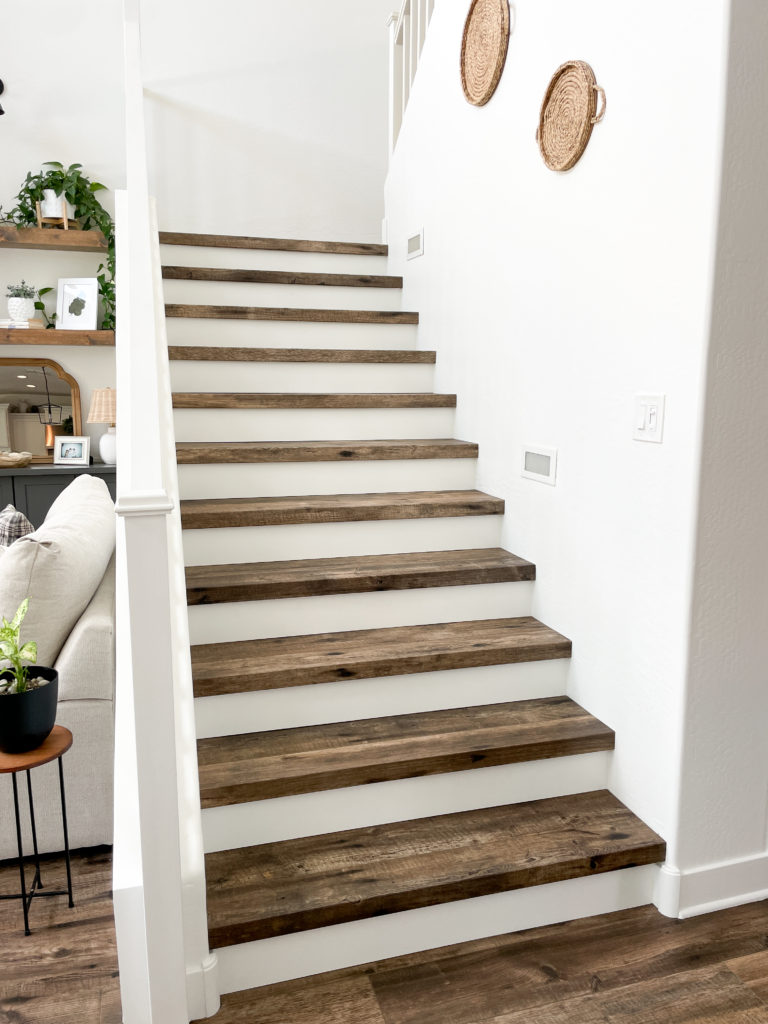
It’s time to install the stair bullnose pieces and stair treads. We used construction adhesive to attach the bullnose pieces allowing a more secure install.
Construction adhesive we used.
Step 5
This process was very tedious.
- Install the stair riser, and attach it with brad nails
- Measure the length and cut the stair bullnose piece to fit (do not attach yet)
- Measure the width and depth you’re left with for the stair tread and cut to fit (do not attach yet)
You’ll want to put all pieces in place and make sure they all fit well. Once you know all the measurements are good you can install them.
Our flooring locks together so, the floor tread is laid down then the bullnose flooring piece is snapped in and attached with glue.
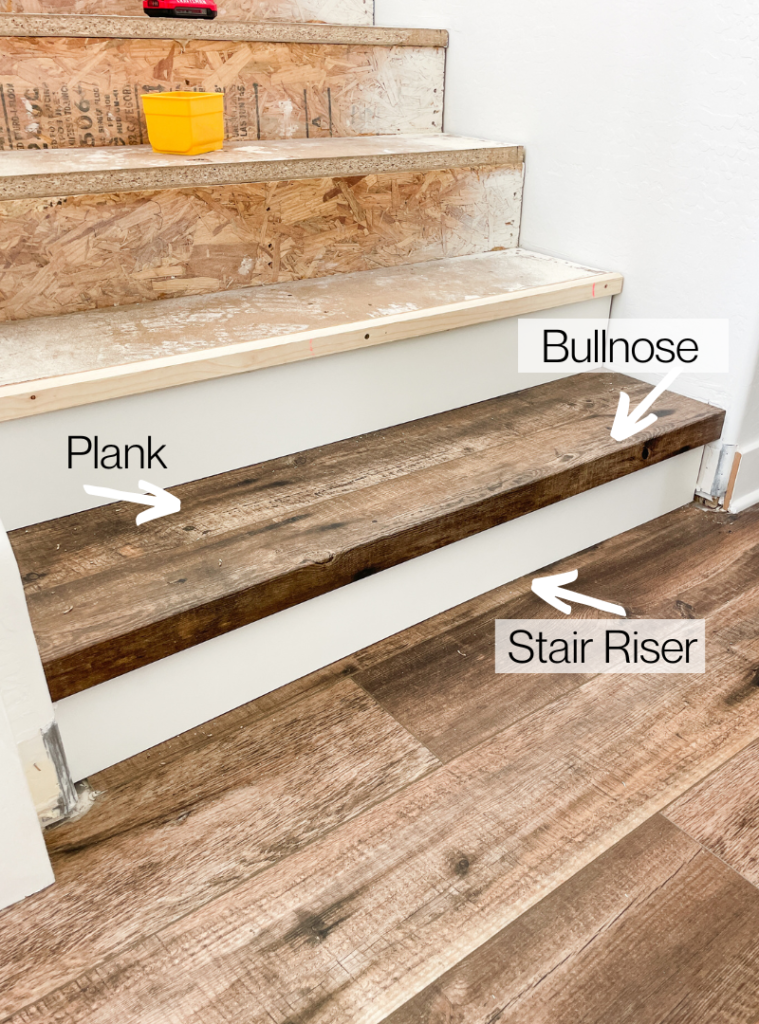
You will continue this process one step at a time. Every step needs to be measured exactly because they will all be different. Even 1/8 of an inch will make a difference in the finished look.
Step 6
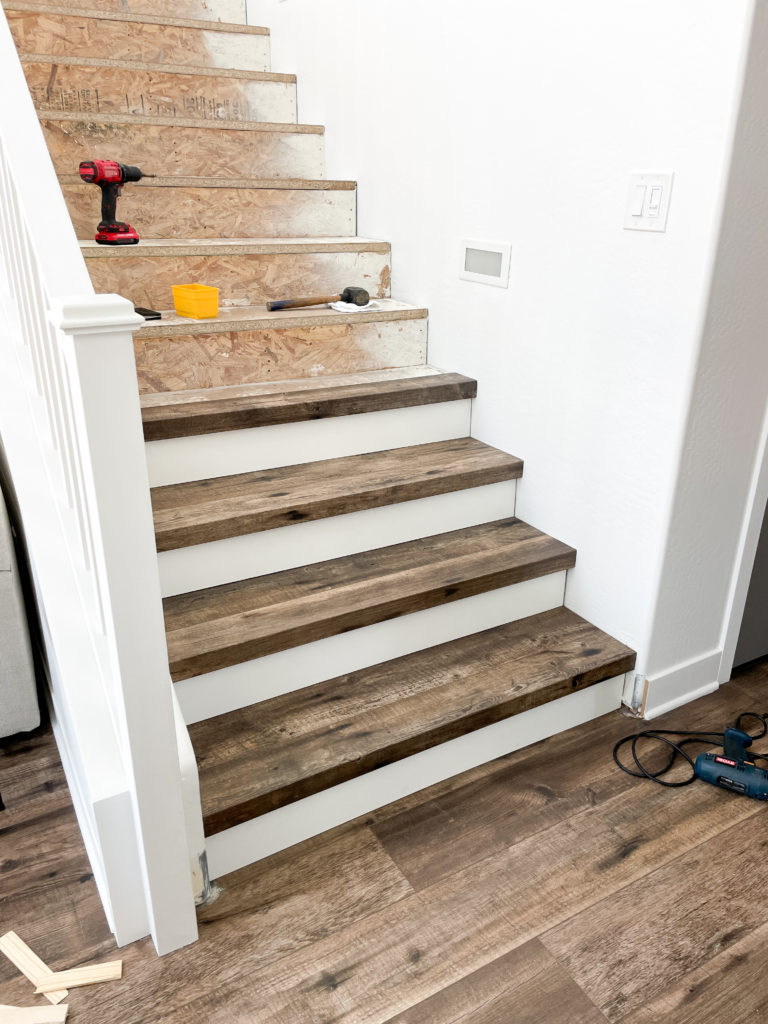
Once all of the flooring is installed it’s time for all the finish work.
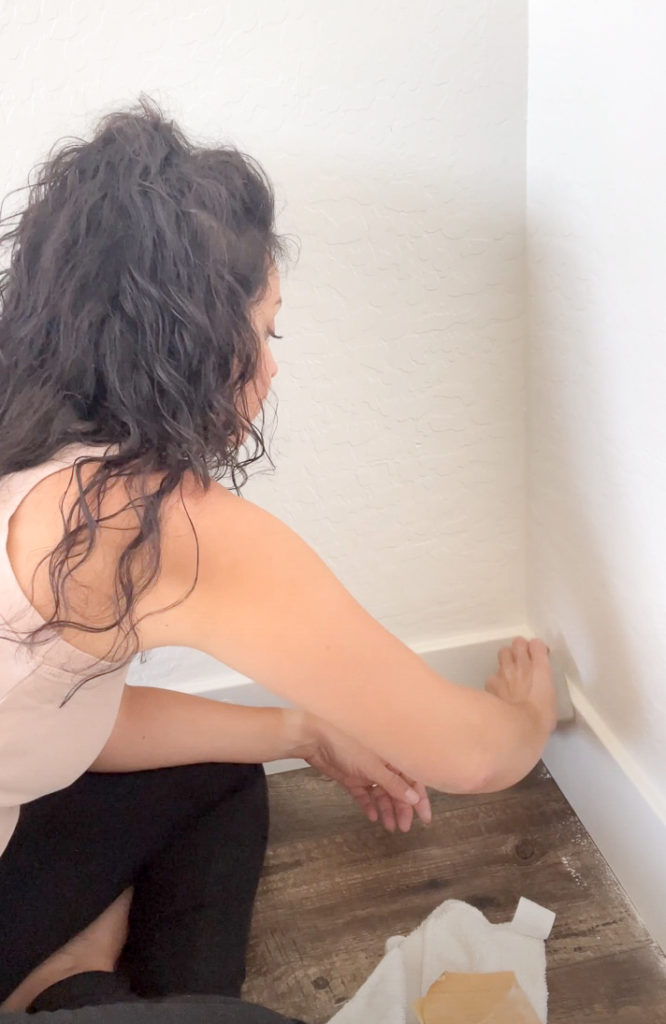
- Caulking
- Touch up nail holes
- Paint /Paint touch-ups
- Install floor trim
Before Caulk
Caulk all the seams to make a seamless finished look!
After Caulk
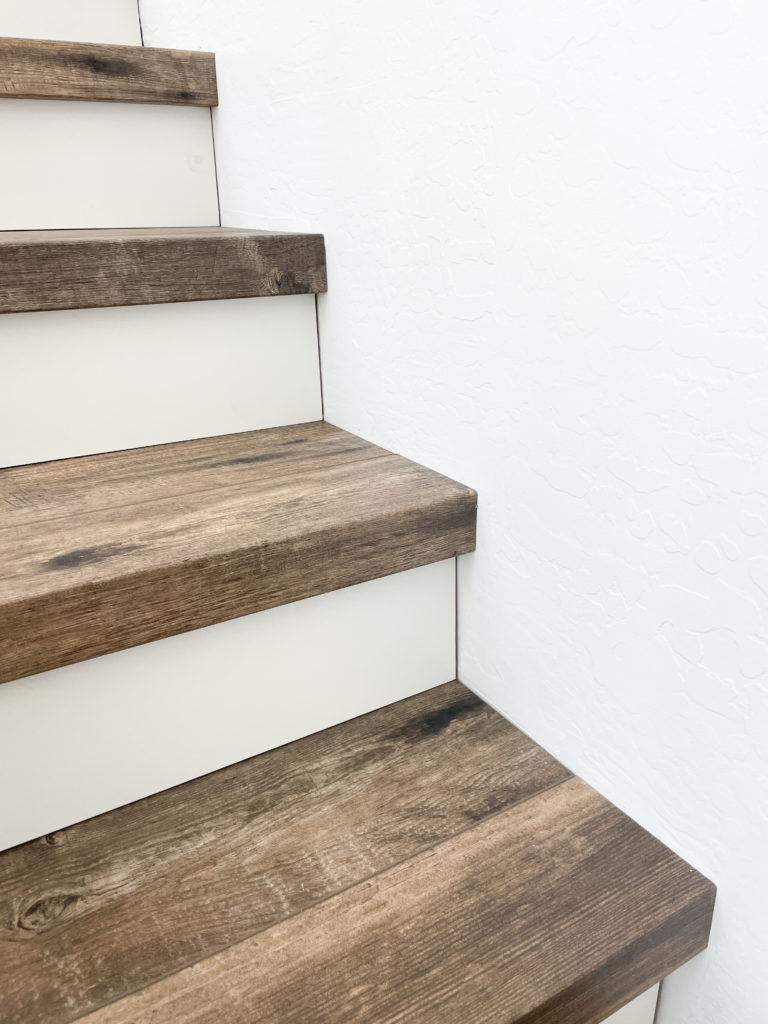
After re-installing the floor trim I had to touch up all the nail holes, lightly sand them, caulk, and a finish coat of paint.
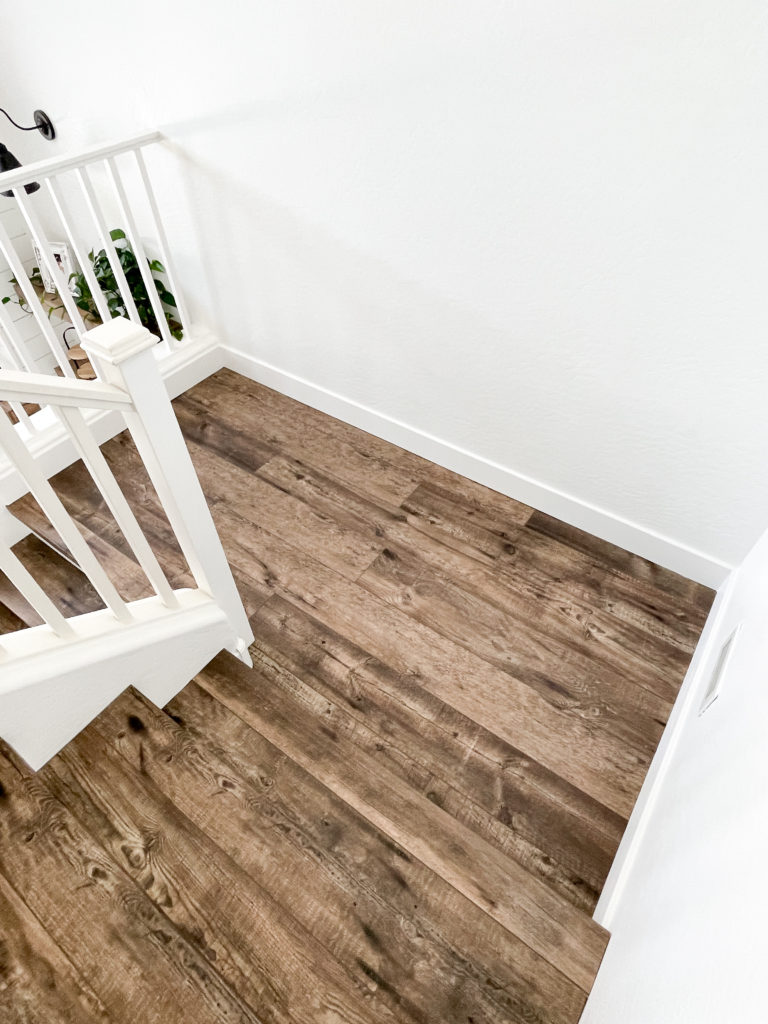
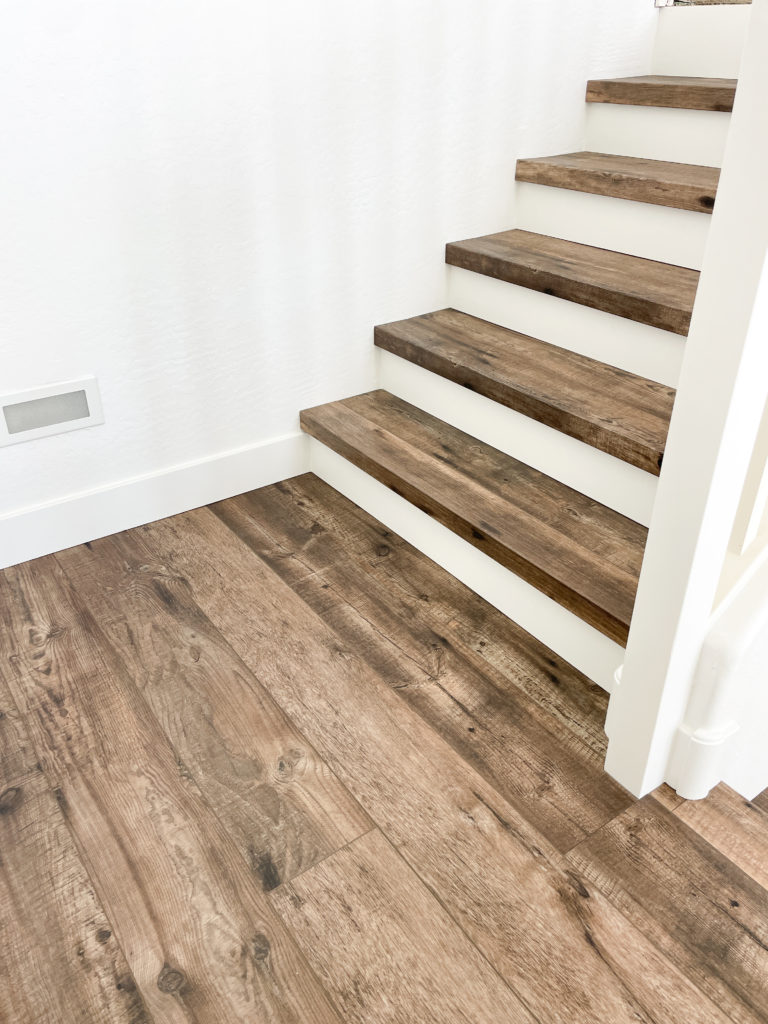
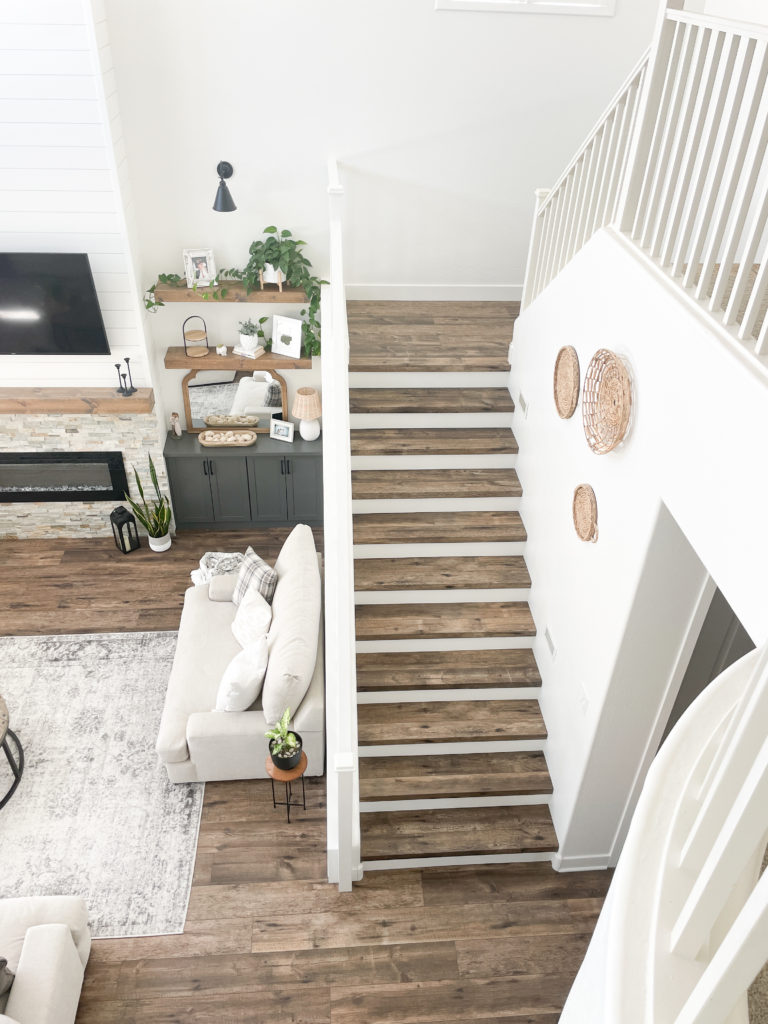
Here it is friends the finished product!! I love the last steps of the finishing process because everything starts to really come together.
Luxury Vinyl Flooring Used
The flooring that we used was Shaws Alto HD Plus Luxury Vinyl Plank Flooring in the color -Novara. This is the flooring we had installed on the first floor when we built our house.
Apparently very recently this specific floor/color was discontinued which was the issue with the bullnose pieces not matching.
I will link a very similar flooring for you here and you could always ask Shaw Floors what would be comparable to ours if you like it.
Cost to Install Luxury Vinyl Flooring on Stairs
I’m sure you’re wondering how much we saved by doing this project ourselves. Was it worth it…….heck ya it was!!
The total cost for materials was $1,512 and the estimate I had received was 3x the cost we paid for materials.
If you’re willing to put in a little sweat equity it’s so worth it!! Not only do you save $$, but looking at what you’ve created is such an amazing feeling too! 💕
Don’t mind me, I’ll probably be standing here most of the day staring at how beautiful our stairs look now!! Even though we had to wait for 5 weeks to finish them it was worth the wait.
One other thing I wanted to mention, I’m actually glad that we ended up having to change the bullnose pieces to the square look. I’m so much happier with the look of them.
Our next project will be bringing the flooring through the hallway upstairs and into our master bedroom. I’ll share with you how that goes in a future blog post!
If you found this blog post helpful I’d love for you to leave a comment and give it a share! You can find me over on the ‘Gram hanging out daily!!
Thanks for stopping by! 💕


22 Comments
Jillynn Heck
How have these held-up on the edges where they bent them? Are you noticing any excessive wear on them? I’m considering letting our contractor do this for us but am worried about how the edges will hold up over time.
Kimberly
Hi, perfectly they are solid, you want to make sure they are glued down really well!
Angela
Wow the steps look beautiful!!
Kimberly
Thank you so much!! 🙂
Anonymous
Beautiful!! Great job.
Kimberly
Thank you!:))
Teresa Parker
Thank you for sharing!
Great job!!!
Kimberly
Thank you!
Marsha Cook
Do you find that the stairs are slick when you just have socks on? My son thought about doing this but had a flooring store tell him they are slick and a fall hazard. We have friends with a lake cabin and they have LVP stairs and said they are not slick! Just wanting another opinion!
Kimberly
Hi, I’m not finding them to be slippery I have heard others complain about that, but maybe the finish is different.
Denise
Turned out nice! We are about to do the same. Glad I saw this because we are about to rebuild our stairs to finish with LVP. Saw the rounded nose and the flat one. We need to think this through now that I see how you did yours.
Jennifer Heard
So pretty! What did you use for the stair risers?
Kimberly
We found what we needed through Homedepot they are reversible stair risers, one side is primed white the other is oak for staining.
Julie Jenkins
Is the bull nose piece a specific specialty piece? I love the square look. Not sure it will work with our planks.
Kimberly
We had them made, depending on the flooring that you order it could be available in this style though.
Eric Horne
Great job!
Jennifer Childs
How did they fabricate the bullnose from the planks? That’s really the crucial step.
Kimberly
I’m not quite sure, they had the tools to bend the planks and glue them to stay in the shape needed. I’m grateful they were able to do it for us.
Ashley
I love your flooring! Can you tell me what it is?
Kimberly
Hi, I’m so glad you like it, I have it on the blog post under “Luxury Vinyl Flooring Used.” The flooring is Shaws Alto HD Luxury Vinyl Plank Flooring in the color Novara. I don’t think this color is available, however I have linked other flooring like mine under the blog post hope this helps.
Pradeep
I saw videos where people were removing LVP backing (black layer underneath) before gluing them down. Did they glue well with the backing still intact?
Kimberly
I’m not sure why they would remove the backing, if there’s an area that needs glue to make the board secure it applies just fine to the backing that’s attached.