
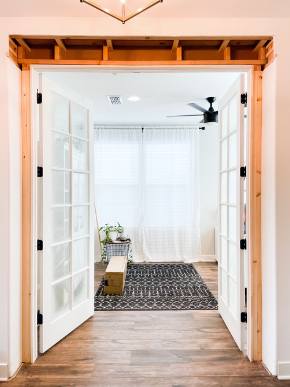
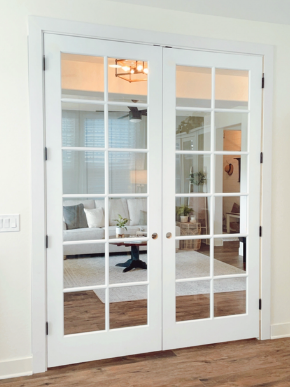
How to Install Interior French Doors to an Existing Opening
I’m excited to share with you how to add and install interior french doors to an existing opening in your home. It’s much easier than we thought it would be.
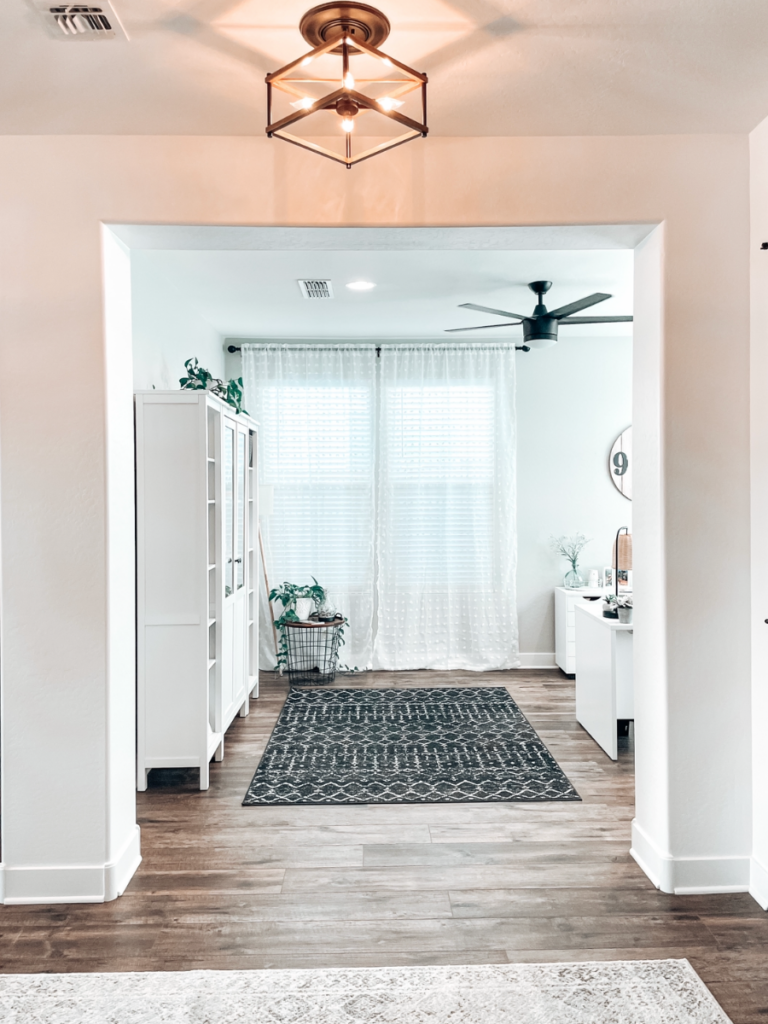
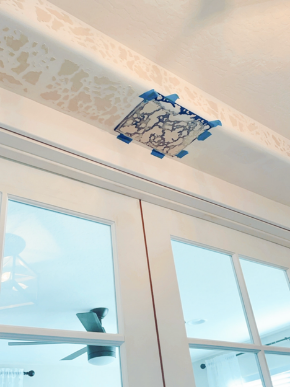
While we were building this house I knew from the very beginning I wanted french doors added to what would be my office.
Unfortunately, the builder didn’t have it as an option when we were building. I’m kind of happy though because I think what we ended up doing turned out better than what the builder could have offered.
How to Install Interior French Doors to an Existing Opening
We received a few estimates from contractors to see what the cost would be. My thinking was if the price was right we’d just pay someone to do it.
The estimates we received were between $3-$3,500 not including the price of the doors. 😳
It’s so hard to pay someone else that amount of money knowing we’re capable of doing it.
If you make it till the end I’ll be sharing with you what this French Door DIY install cost us to do ourselves, vs. paying a contractor.
This blog post contains affiliate links. This helps maintain and keep this blog running. If you have any questions, feel free to read my disclosures. Thank you!
We’ve never done this type of project before, but nothing a little YouTube and Pinterest couldn’t help us figure out.
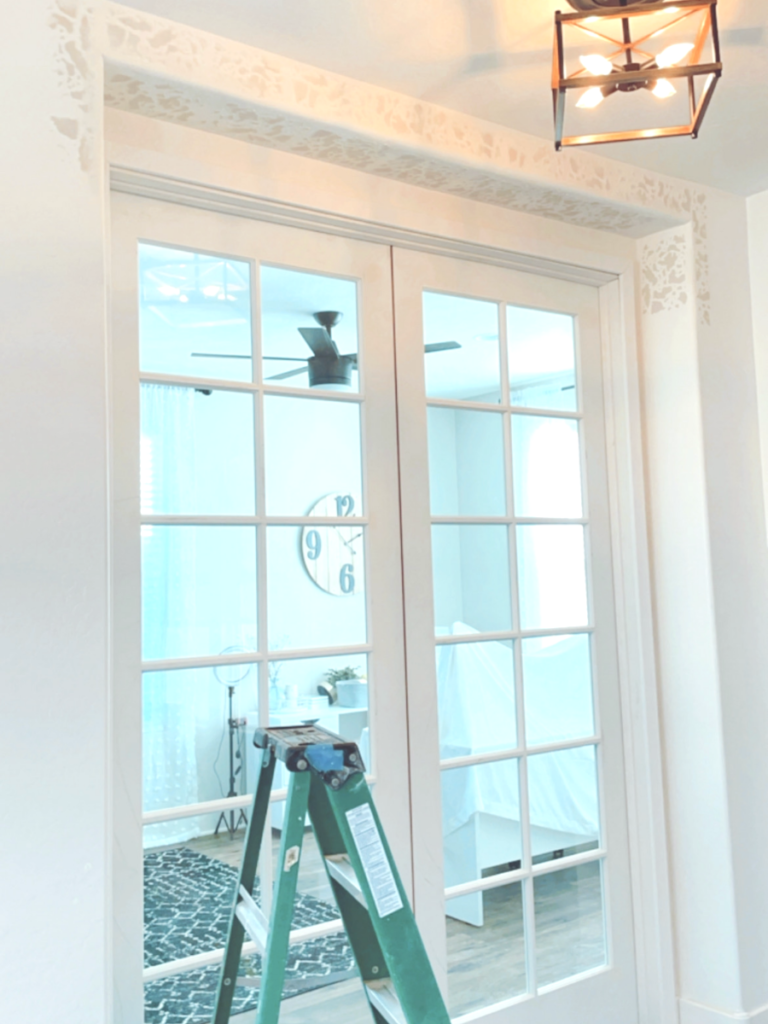
This project was a little trickier because the doors we would be installing were taller than the header already in place. This meant we would need to remove the existing header and rebuild a new one.
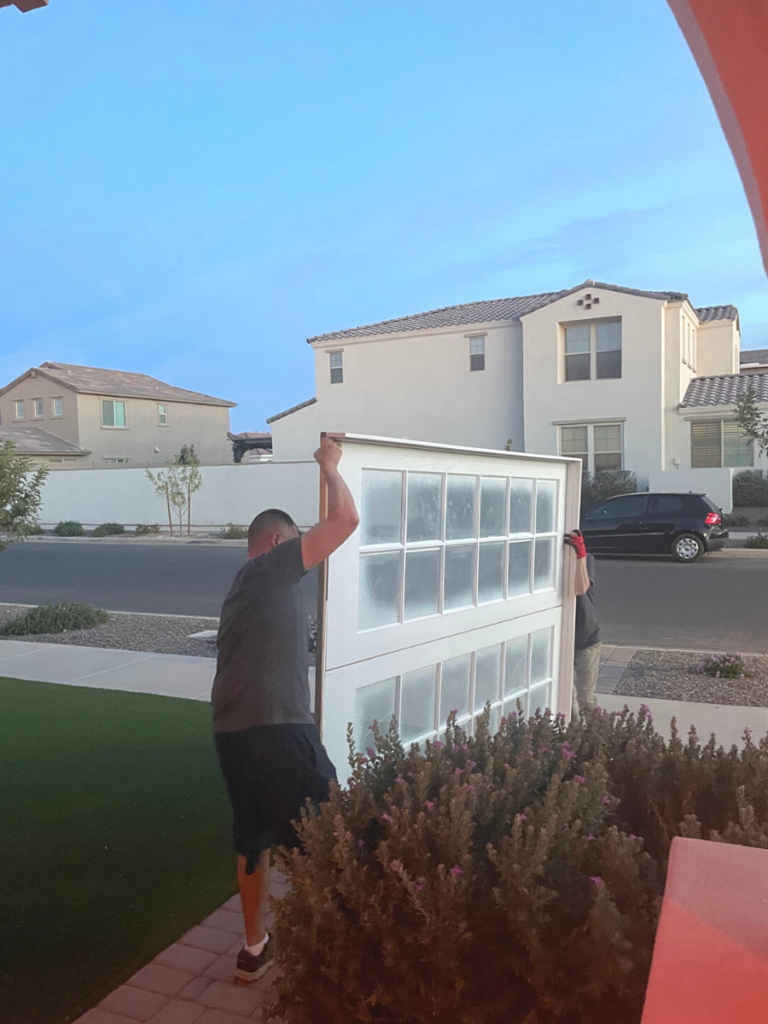
The doors were REALLY heavy, you can’t see in this photo, but they had it on a small dolly to roll it most of the way into the house.
Tools Needed to Build Frame and Install Interior French Doors
If you don’t have these tools don’t let that get in the way of you tackling this project. You can rent the tools that you will need or check with your friends to see if they have what you’re looking for.
Stores that have tool rental available are Homedepot, Lowes, Sears, and make sure to check any local hardware stores as well.
- Cordless Drill
- Ryobi Door Handle Template
- Jig with Hole Saw Bit
- Miter Saw Jig
- Brad Nailer
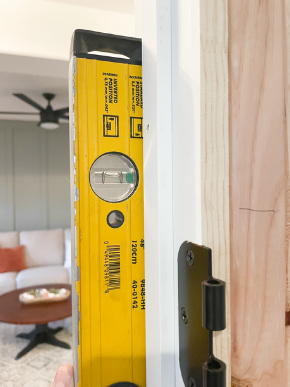
- Level
Steps to Installing Interior French Doors
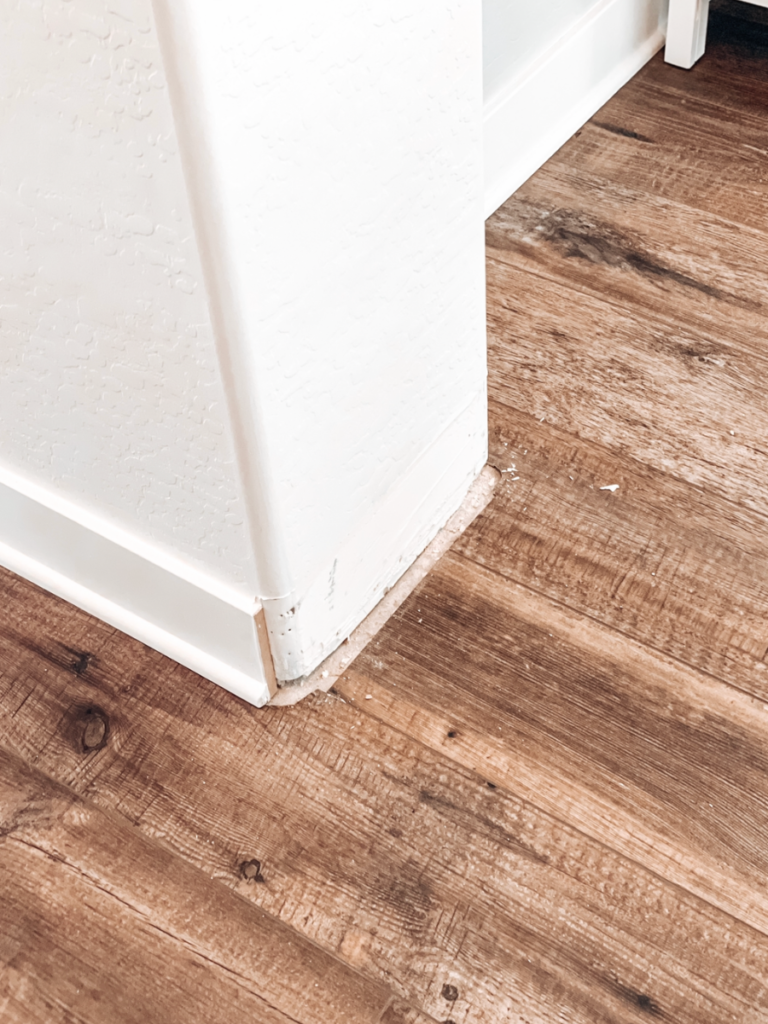
Step 1- Remove Floor Trim
The first step will be removing all of the base trim that will be in the way of the project.
Step 2- Remove Sheetrock & Header
Next, using a jigsaw we needed to remove the sheetrock to expose the existing header. Once it was exposed we removed the entire header.
It’s important to note that if you are doing this you need to know if it’s a load-bearing wall. Ours was not, but even if it was we would have been ok because we were rebuilding a new header.
Removing Sheetrock
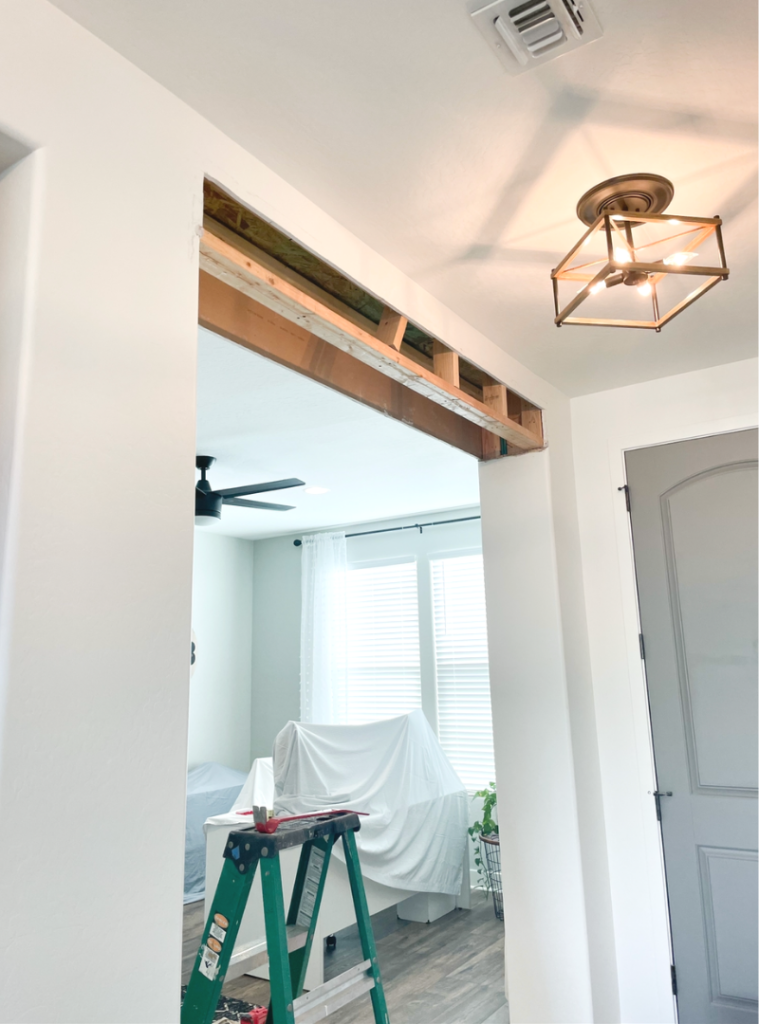
Exposed Header

Removing Header
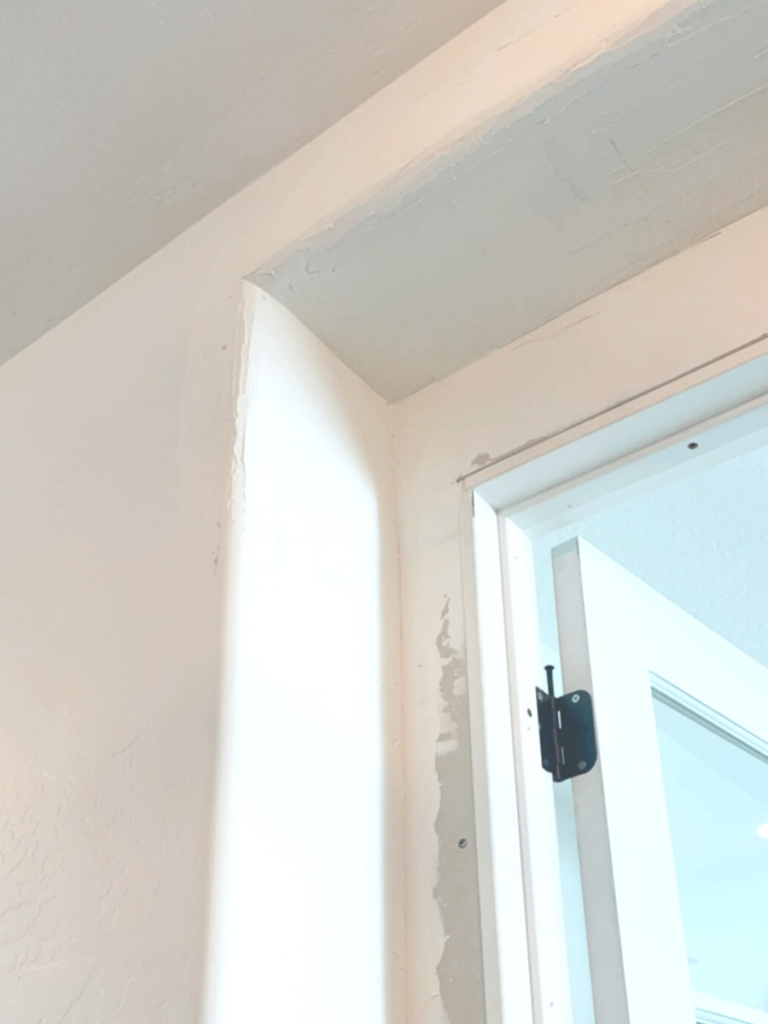
Step 3- Build New Header & Frame for Pre-Hung French Doors
In the next step, we built a new header that would fit the height of the doors. We had to add to the width of the wall slightly to fit the frame of the doors.
The depth of the opening is obviously much wider than the door frame we are installing. We framed it on the backside because the doors will be opening into my office.
Should Interior French Doors Open In or Out
Typically you’re gonna want your doors to open into the room they’re meant for. Aesthetically it looks better. Of course, it is your house and if you feel like the doors opening in the other direction works better then that’s ok too.
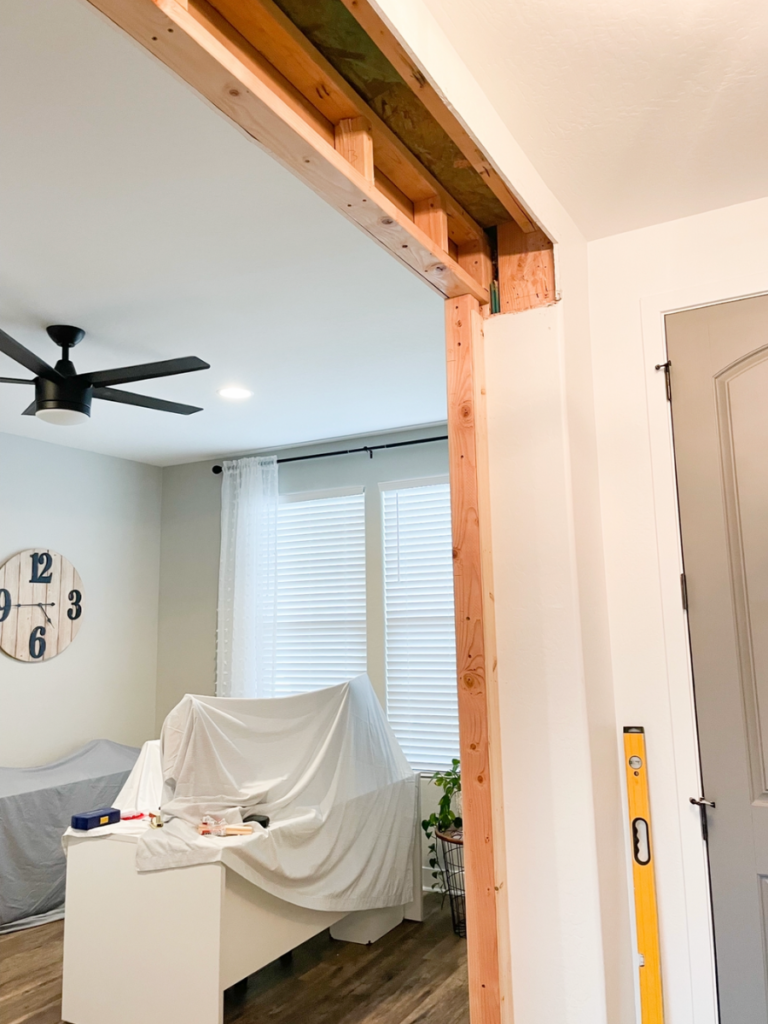
New Header & Frame
What is a Pre-hung door
We purchased pre-hung French Doors and typically this is the easiest way to go when installing doors. A pre-hung door comes already mounted into a frame. This makes it easy to install the whole thing at once.
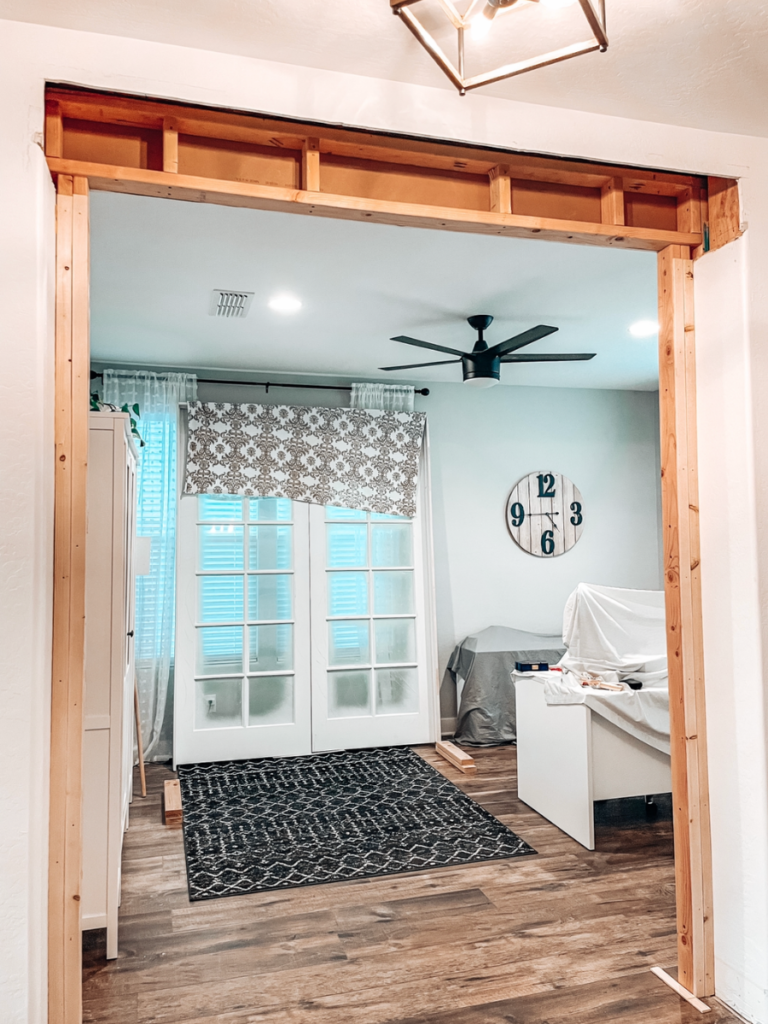
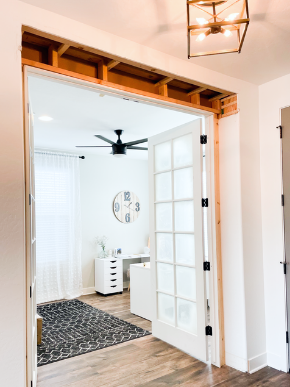
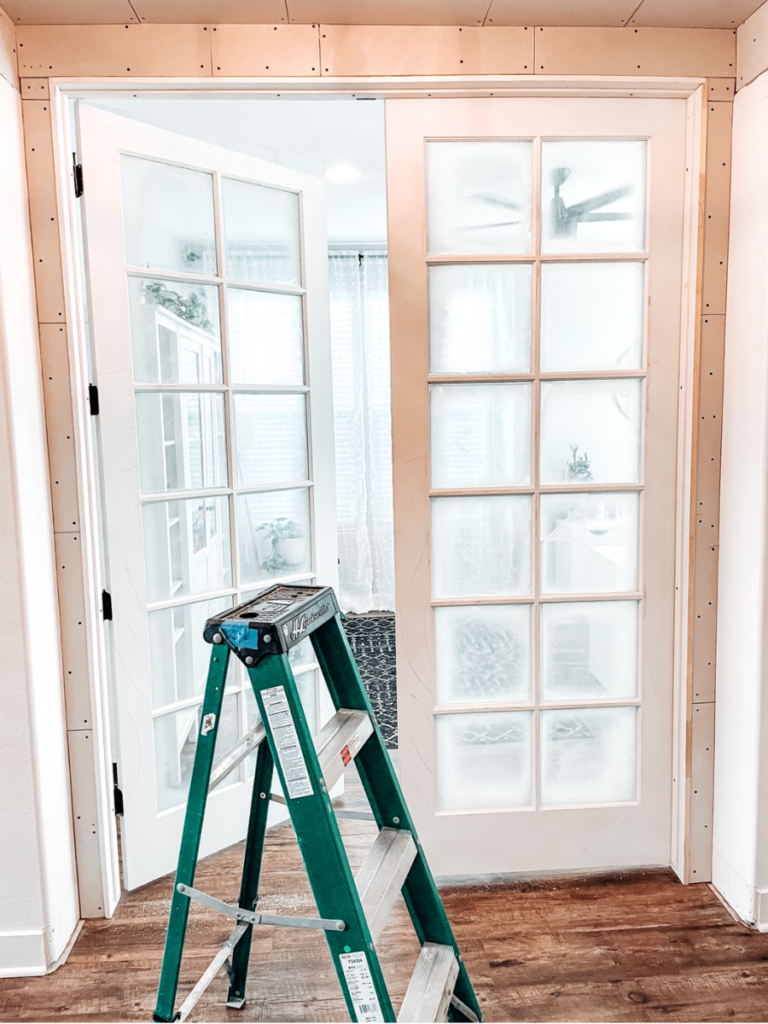
Step 4- Install & Set Pre-Hung French Doors
Now for the exciting part, installing the doors. This step took 3 of us to get them in place, they were so heavy. It’s important to make sure you’re using a level before securing it in place. You’ll want to use shims to make any adjustments needed for the frame to be level.
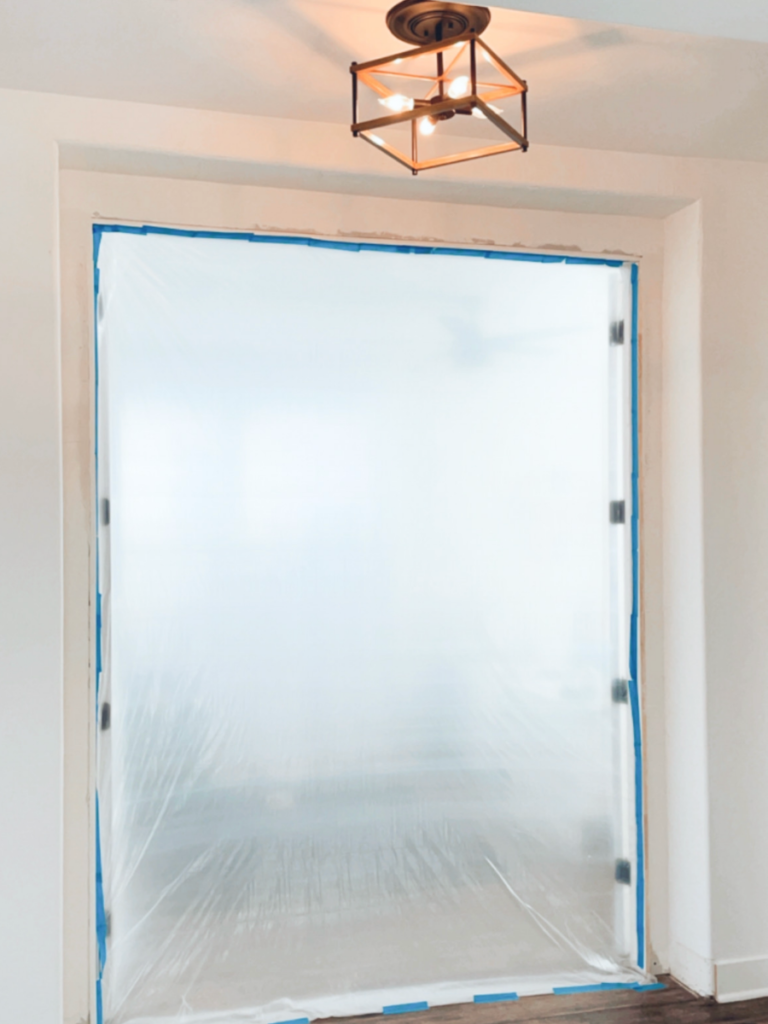
Step 5- Sheetrock
The next step was sheetrocking. We could have had fewer cuts, but we had to buy 2 small pieces of sheetrock to fit in my SUV. Ideally, we would have bought an 8ft sheet.
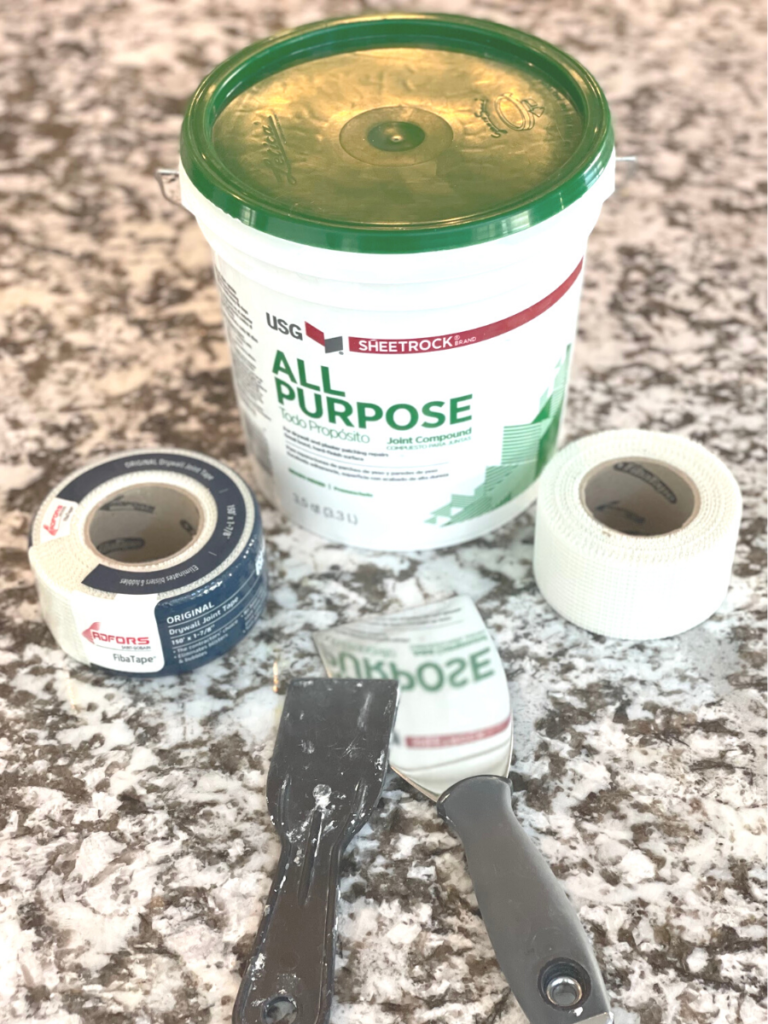
Materials Needed to Install Interior French Doors
- All-purpose Joint Compound
- Drywall Joint Tape
- Putty Knife/ Knifes
- Sheet of Sheetrock (small or large) depending on the space
- Texture Repair Stencil (only needed for textured walls)
- Painters Tape
- Sand Paper
- Sand Paper Block
- Caulk, Paint, Paintbrush
- Nails, Screws
Step 6- Taping & Mudding
This next step was the most time-consuming. Taping, mudding, and sanding. After I taped all the joints I listed below the steps
- Apply a heavy coat of joint compound (let fully dry-24 hours)
- Apply second coat (let fully dry- 24 hours)
- Lightly sand
- Apply third coat (let fully dry-24 hours)
- Sand to the finish needed
I knew it didn’t need to be absolutely perfectly smooth because we have textured walls, and I was going to have to create that texture in all the same areas.
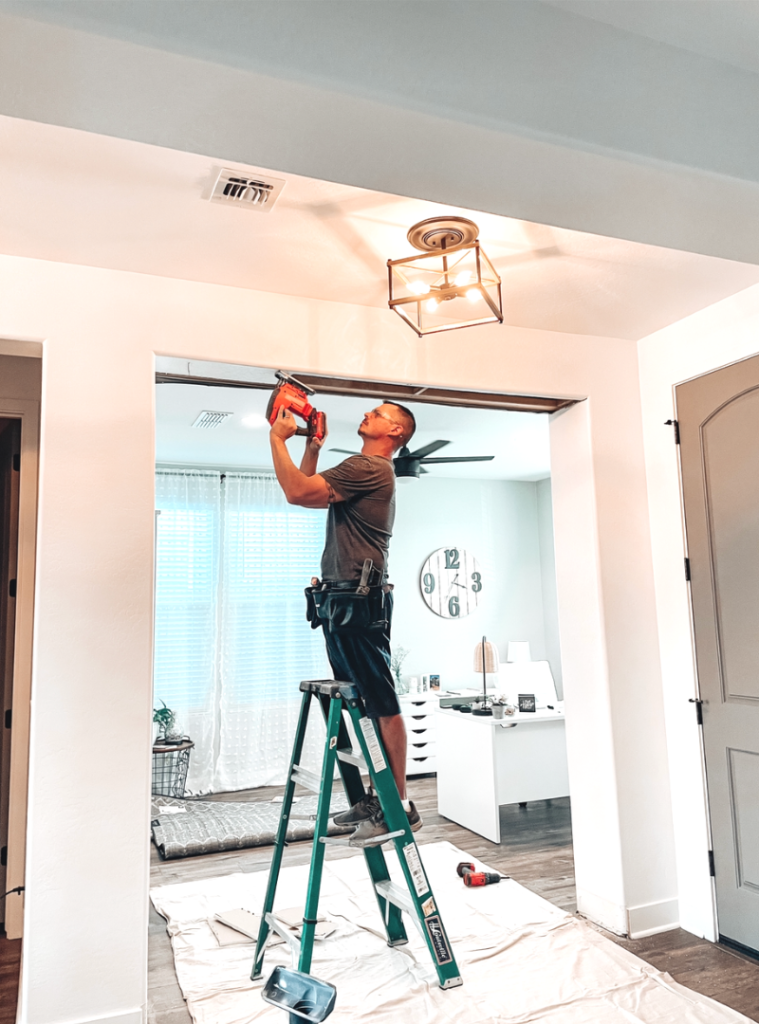
Step 7- Install Trim
Prior to doing the texture on the walls, we installed the trim on the outside and inside of the door jams.
I’m not sure how, but I didn’t get pictures of this step. (epic fail)
Step 8- Sanding & Texture
I was beyond excited about this step right here. If you have textured walls then you can probably feel my pain. In the past, I have used putty to do small touch-ups, but never had a large space like this to match.
I figured there has to be a stencil for this, so I hopped on Amazon and within a minute I found this gem!
Like seriously, I was doing the happy dance. 😍
I’ll link it for you here, if you happen to have textured walls this is a game-changer!!
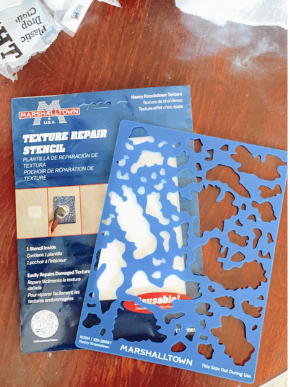
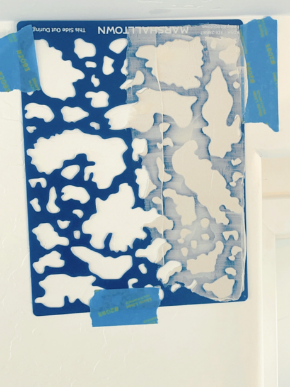
This process was super easy, you only need to apply one coat of joint compound. Let it dry overnight, and sand it down to match the rest of the existing texture on the walls.
And, viola you have a perfectly matched wall!
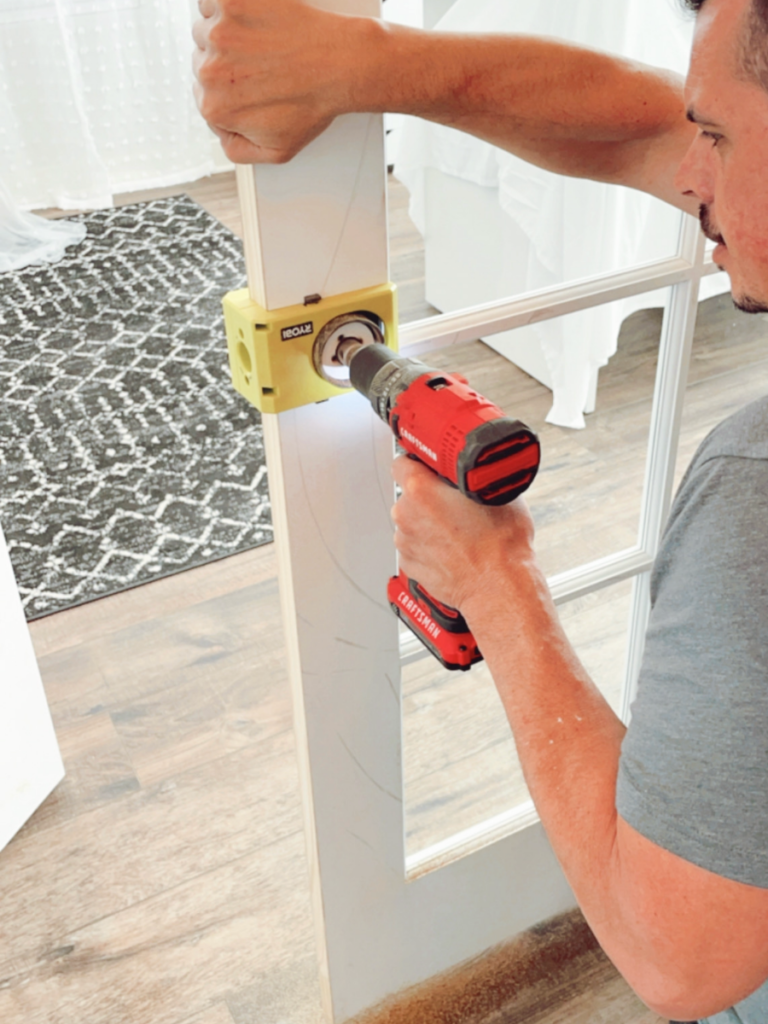
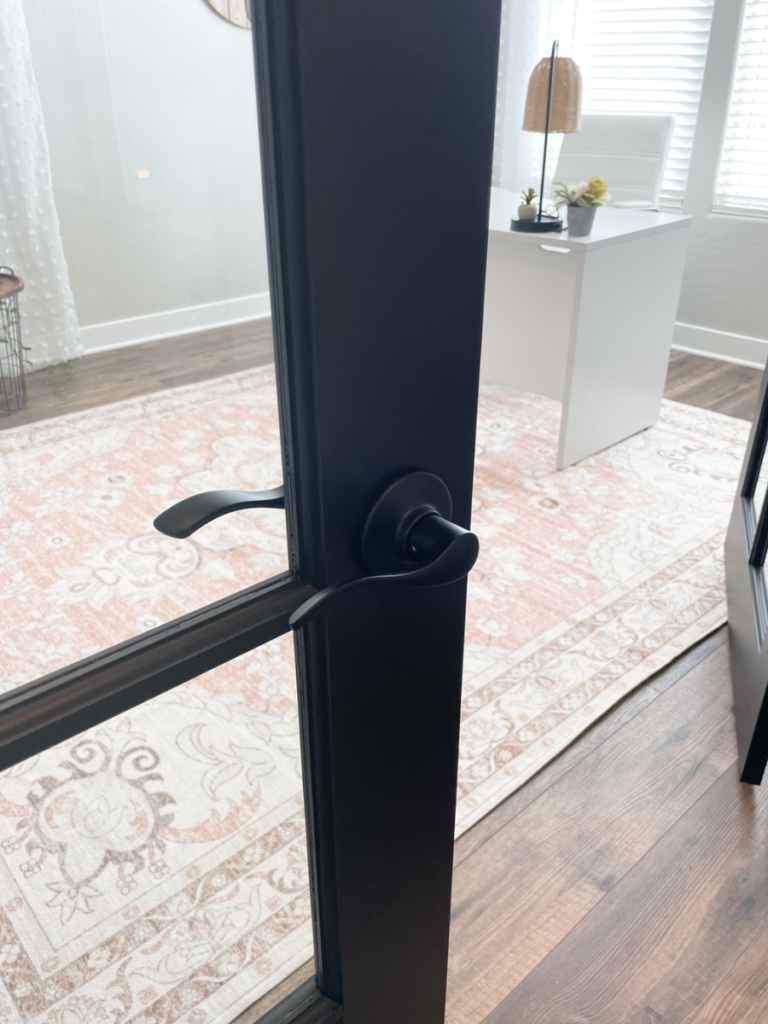
Step 9- Install Door Hardware
We bought this cool template to make the holes needed to install the door handles. We had something like this years ago, but we got rid of it when we moved out here to Arizona thinking we wouldn’t need it again.
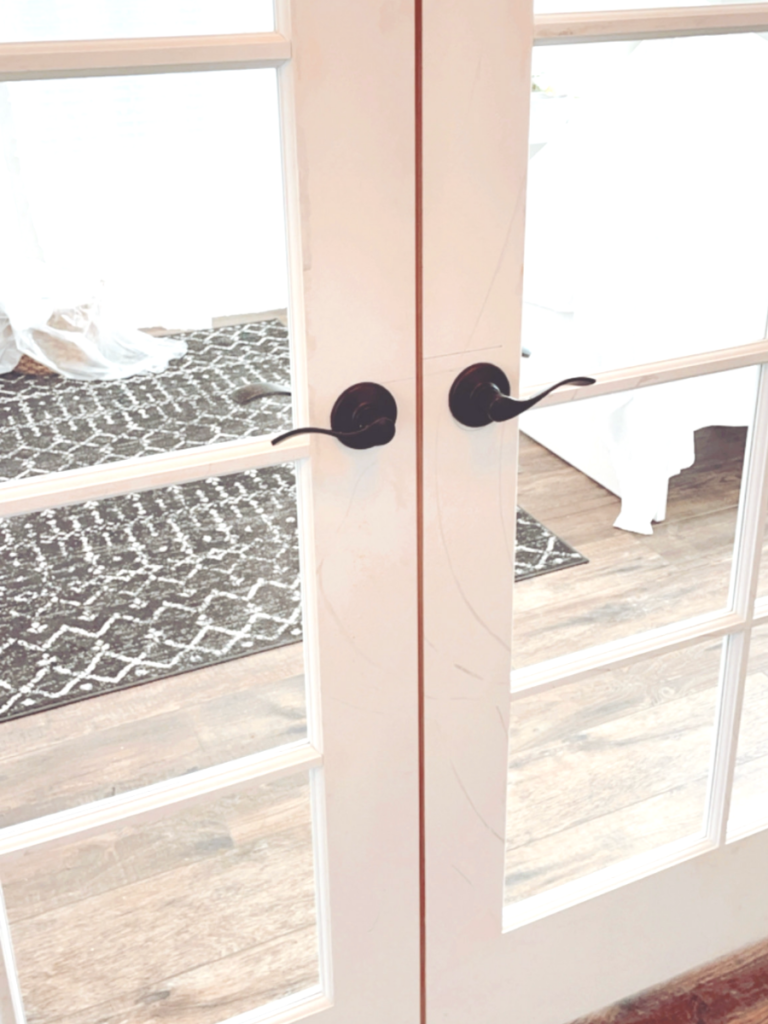
It’s not shown in this picture but I decided to lightly spray paint the door handle a matte black. I thought it would match the color I’d be painting the doors better. If you keep scrolling you’ll be able to see at the end what they look like.
I took a fun poll on my Instagram stories to see what everyone thought I should paint the doors. White, or Black! Black was clearly a winner 🤣 and it’s a good thing I was already leaning that way.
If you’re not already following me over there you can give me a follow at The Scented Homestead.

Step 10- Painting & Caulking
Now for all the tedious finish work. Painting and caulking. I have a system that I always follow when I have to paint and caulk.
I like to do one coat of paint on the trim before I caulk. I find it easier to see exactly what needs to be caulked with a fresh coat of paint. Once the caulk dries I apply the second coat of paint.
This is my personal preference there is no right or wrong order.
Favorite Paint Colors
I painted the inside of my office Agreeable Gray, and the trim is my favorite white, you can find it here!
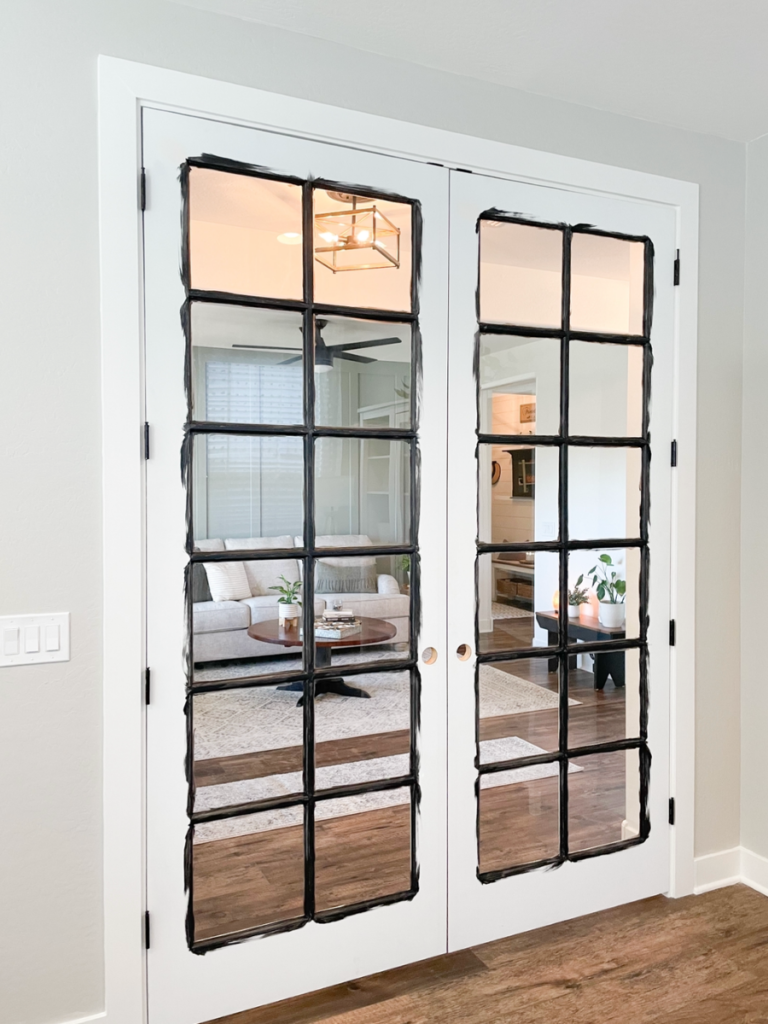
The black I decided to go with was Tricorn Black by Sherwin Williams color matched in Behr Paint. I personally like Behr Paint, so if I find a color I like in another brand I always have it color matched.
This is what the door handles looked like after I gave it a light coat of Matte Black spray paint.
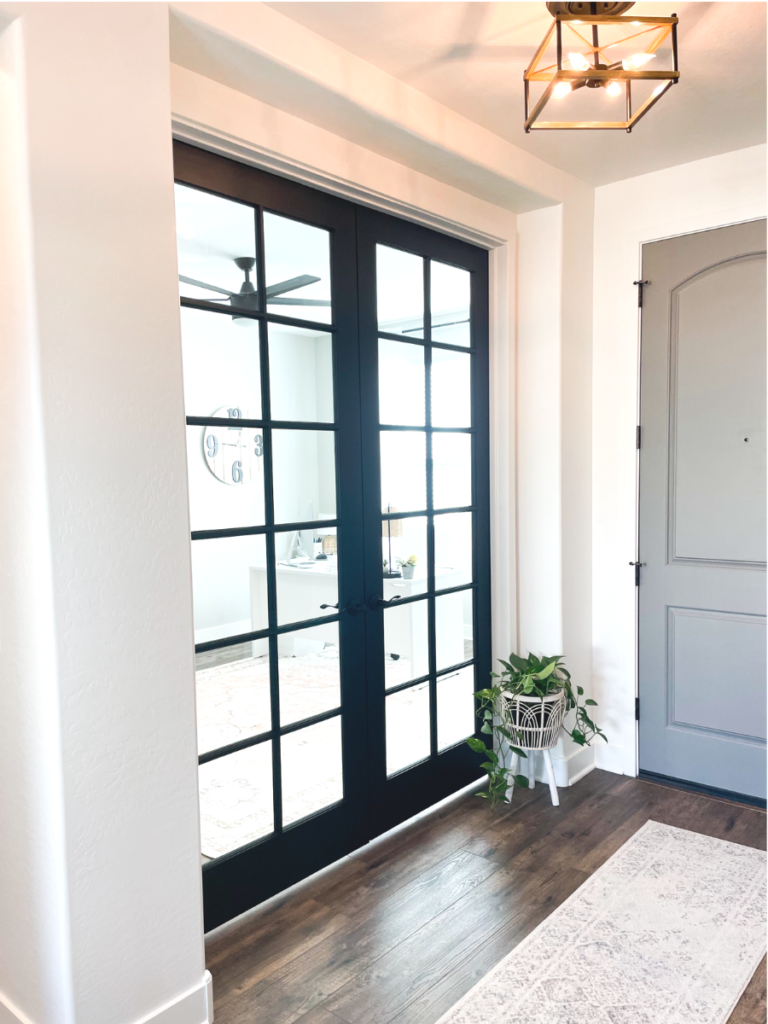
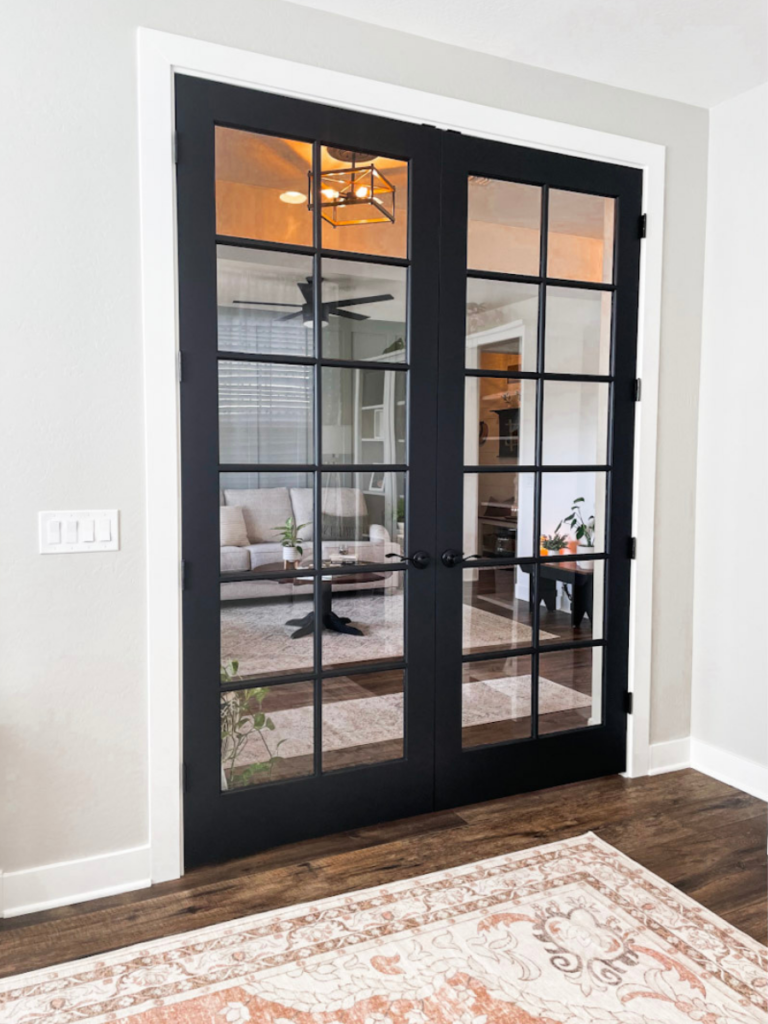
I’m pretty smitten over how the French Doors came out and absolutely loving the black! It gives such a nice pop and the perfect touch of drama!
Drum Roll!!!
If you’ve been waiting to see how much this DIY project cost us compared to what we were quoted I’m about to share.
I actually just added up the receipts and I’m totally shocked!
The French doors were the biggest expense, 72in x 96in Craftsman Shaker French Doors $1,086 with shipping and tax. Linked here for you at Homedepot.
All other expenses including wood, trim, all materials listed above, paint, hardware, etc. totaled $240.
Grand Total $1326 😳 Whaaat, I’m shocked too!
That’s a pretty big price difference from what we were quoted and this just makes me so happy. I LOVE doing big projects like this and seeing how much we saved by doing it ourselves.
It’s so rewarding after it’s done to see what we have created.
If you are on the fence about diving into projects around your house, I encourage you to just go for it! Start small and give yourself grace, I bet you’ll surprise yourself with what you can do! 💕

I would love to hear what you thought of this DIY and if you loved it give it a share!


9 Comments
Chris W
Great job! This is exactly what I need to do… twice, to enclose our home office. We are having a hard time getting any contractors to commit or even call us back. You have given me inspiration to do it on my own. Thank you!!
Kimberly
So glad it inspired you!! Good luck!
Emily Razz
What sheen did you choose for the door paint?
Kimberly
Hi, I used eggshell finish!
Kim
Where is the door from!?
Kimberly
Hi, we purchased them from Homedepot I have them linked in the blog post towards the end. Hope this helps!
Anonymous
I love the French doors! What color of paint is your front door? I love it too!
Kimberly
Thank you so much, I used Dovetail by Sherwin Williams
Pingback: